
Google Docs is Google's office suite, which we can access from our Google account and whose documents are stored in the cloud directly. It is presented as a good alternative to Microsoft Word, especially if you are going to collaborate with several people on that document, so that everyone can participate in its online edition in different locations. Furthermore, at the functions level it has little to envy Word.
We can upload photos in these documents, although there are some options that raise doubts among users. One of them is how to put a caption in Google Docs. This may be a question for many of you, so below we will tell you how this can be done, since many people do not know the steps to follow.
If you are looking online for the way to put a caption in Google DocsYou will see that there are sites or forums where it is said that this is something impossible. The reality is that this is the case, since this suite, although it has many functions, in some areas needs to be improved significantly. Luckily, there are ways we can get around these limitations. This is the case with this caption, since we will be able to create one, even if this means that we have to take more steps than desired.
Upload the image

First of all we will have to upload that photo or image that we want to use in the document, in which we want to introduce that caption below. The photo can be uploaded by dragging the image into the document or from the Insert option in the document's top menu. There is an option to insert image from the computer, so that we upload a photo that we have saved in a folder on our PC or on the phone, if we are using the document from the mobile. Once that photo is chosen, we will see that the image is already in the document. Then we can consult the various options we have when adding that caption in Google Docs.
Add a caption in Google Docs
As we have mentioned now, Google Docs does not have a native function with which to add a caption. Luckily, in the Google suite we have a number of alternative options. Thanks to them it will be possible to add that title or caption to any image that we have in a document. So we are going to obtain the desired result at all times, although this will mean that we carry out more steps than many would like.
It is not the same method that we follow in an office suite to use as in Word or others. Although we have to do more steps, the process is not complicated. You will have no problems in this regard when you have to. There are three methods available in this case to add that caption in Google Docs. We will talk about each one of them individually below, so that you can see how they work and choose the one that seems most comfortable for you.
Online text
The first way to add a caption in Google Docs is also the simplest of all. This is the inline text function, which will be the one that allows us to add a text or description below a photo in the document, so that it looks as if a normal caption had been placed on it. So any user in the Google suite will be able to do this without any problem. The steps we have to follow to use it are the following:
- Upload or insert the image in question in the document (as we have indicated in the first section).
- Select the image you have uploaded.
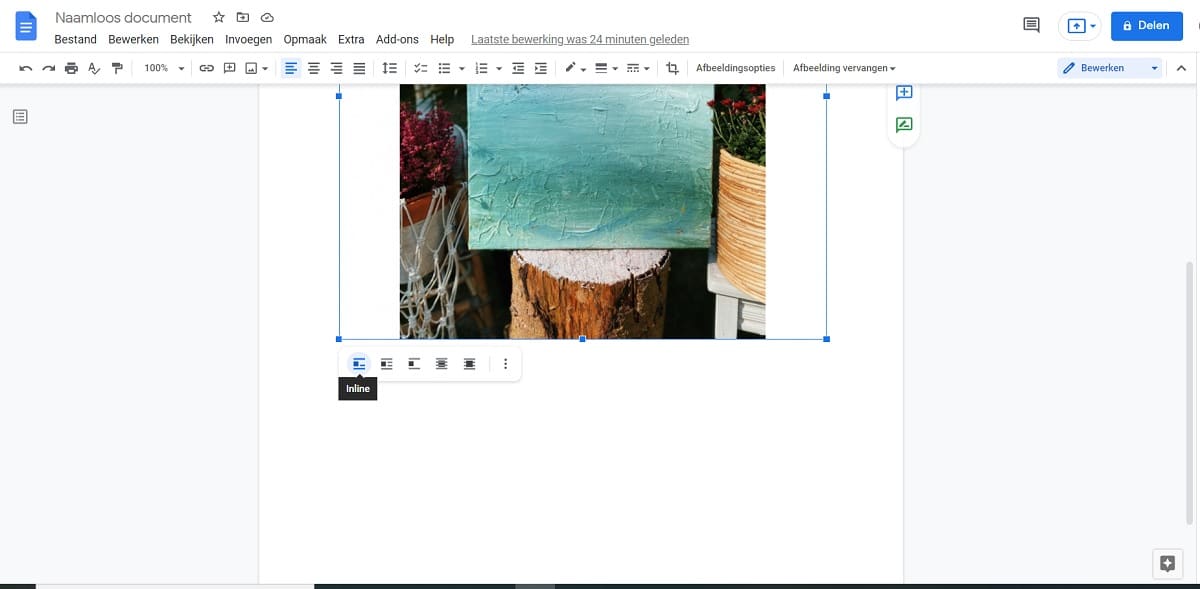
- On the toolbar, select the In line option. This option is displayed just below the photo in the document.
- Then place the cursor under the image.
- Write the text you want to use as a caption in Google Docs.
- Select the text and format its size, font style or even alignment using the document's top toolbar.
- You already have a caption on the document.
With these steps you will see that you already have that caption available. It is a really simple process, which will hardly take us a couple of minutes. In addition, you can see that this caption looks perfectly in the document, as if it were a real one. So it will allow you to obtain a good result in this regard. It is best to use this method if the document is not going to be modified already, so that nothing moves in it and the title stays with the photo.
Title to image as a drawing

The second of the methods that we have available to add that caption is somewhat more complicated than the previous one, but simply because it requires more steps. Although the previous method is something that works well, it has its limitations, since it does not keep the title with the image. That is, if we are going to move things in the document, the work we have done will be ruined, and we will have to create one again.
Therefore, if we are still editing the document and it is likely that we are going to move things in it, we can resort to the Drawing option. In this case, let's start without having uploaded the photo in the document yet. This is because we are going to use a different method to upload the photo into the document, which will allow us to create that caption in a different way. The steps we have to follow in this case are the following:
- Open the document on your device.
- Place your cursor where in the document you want to place that image.
- Click Insert in the toolbar at the top of the document.
- Select the Drawing option and then click New.
- Click the Image button on the toolbar and upload that photo. You can upload from your PC, search for it or add a URL if it is a photo that you have found online, for example.
- When the image has already been uploaded as a drawing, we can start this process.
- Click on Text Box on the toolbar (a box icon with a T inside it).
- Draw the text box.
- Then write the caption you want to use in Google Docs. You can format the text using the upper toolbar (to change size, font ...).
- Drag the box to position it evenly on your photo.
- Click Save & Close to confirm this box.
- The caption is already displayed in the document.
The great advantage of this method is that if we move that image in the document, the caption will accompany her at all times. So we will not have to worry in this regard. If we are still editing the document and changing the location of things, such as the photos, we can do it without any problem. The caption is already linked to this photo and both will remain together at all times, despite all the changes we make.
Using a table
Google Docs gives us a third option when creating a caption. It is about creating a table under that photo, where will be where that text is placed. This third method is a good option since we are going to keep the caption next to the image at all times, as was also the case in the second method. So if we make changes to the document or we are still moving parts or elements of it, the photo will keep that caption at all times.
We are going to create a table, which we will then make appear invisible in the document. So we have that caption that we wanted, which will also look the right way. The steps that we have to follow in this case in Google Docs are the following:
- Place your cursor where you want to upload the image in your document.
- Click Insert and then Table.
- Choose a 1 × 2 table (a column with two cells).
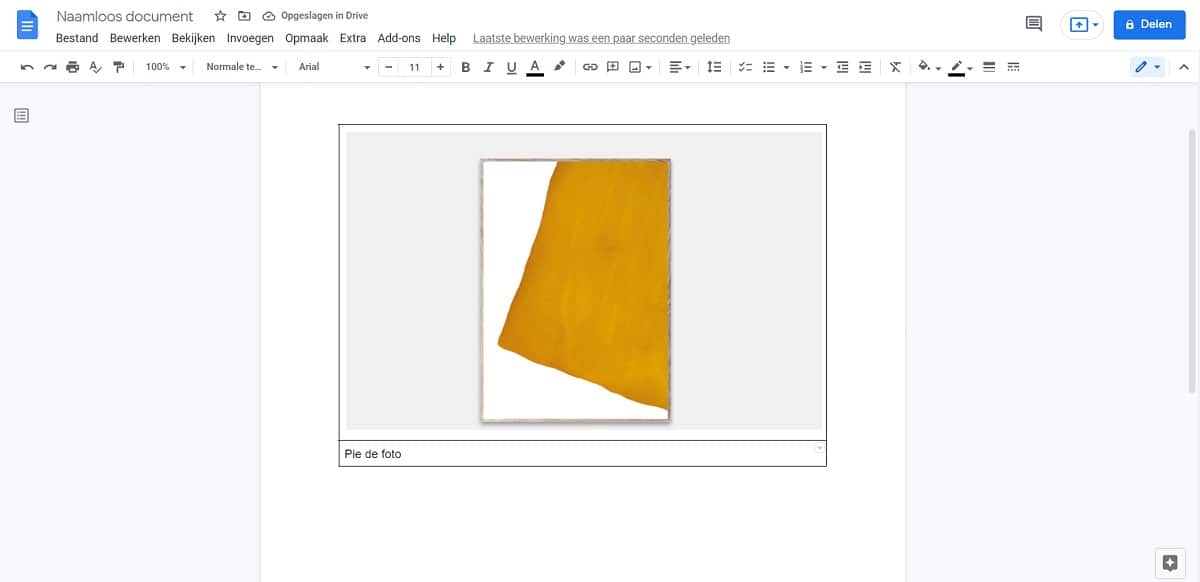
- Insert the image into the top cell of the table. If the photo is already in the document, just drag it to that cell.
- In the cell below the photo, write the caption.
- Right click on the table.
- Go to the Properties option of the table.
- Go to the section called Edge of the Table.
- Set 0 pt in it (this will remove the border of the table).
- Click OK.
With these steps we have created that caption in Google Docs, so that it will look like a real one. This process is not complicated and as in the previous section, the image and the caption will now be inseparable.