
The end pursued when enabling file and folder compression is to reduce its size to have more space on our computers. It is a really interesting solution, since applying it does not affect the content or structure of the file. There is no trade-off, the space they occupy is simply reduced.
This is the topic that we are going to discuss in this post. The best ways to carry out this operation and enjoy the advantages it offers us. But before getting into the matter, wonder if it is necessary or convenient to enable file and folder compression on our disk drive.
When to enable file and folder compression?
Although in general it is always an advisable action, it is especially recommended to compress the files in the following cases:
- When there is a need to save space on our PC. If so, it is recommended to compress the largest files or those that are rarely used first.
- In the case of having to send multiple files by email. Very large files cannot be loaded.
Both individual files and folders can be compressed. In the latter case, compression is applied equally to all files and subfolders they contain.
When you compress a binder, a new compressed folder (may have a .zip, .rar or other extension) automatically appears in the same location as the original folder. These two files, the original file and the compressed file, are totally independent.
However, it should be noted that not all files are compressed to the same level. In fact, there are different "degrees" of reduction in the size of a file, depending on its content. For example: text files are compressed much more than image files.
NTFS file compression
If we work with the Windows operating system, we have a very good tool to perform this type of action: the file system New Technology File System (NTFS).

How to enable file and folder compression in Windows
In Windows 10, this system incorporates a lightweight compression function specifically designed to reduce file size. The great advantage of this function is that, in addition to saving a lot of space on the computer, it allows access to the files without having to resort to manual decompression.
All the and advantages of NTFS compression are many and very notable. First of all, it is an effective solution to free up space. On the other hand, it allows us to configure a unit to store those files that we only use rarely.
Despite everything, there are also some drawbacks. It should be noted that enabling NTFS compression can affect the performance of our devices. This happens, among other things, because the files are decompressed and compressed again each time we access them. And this is a very resource consuming process.
How to enable file and folder compression?
The simplest and most direct way to compress files and folders in Windows 10 is using the File Browser. Compression can be done on individual files, folders, and even on an entire drive. The process is fast and runs like this:
- First of all, you have to right-click on the folder or file on which you want to act.
- We select the option of «Properties».
- There, in the tab "General", Select "Advanced" to access advanced attributes.
- This is the important step: in "Compress" or "Encrypt attributes" we mark the option of "Compress content to save disk space".
- To validate, click «OK» and then "Apply".
Another way to enable file and folder compression is through the command prompt, using the command compact. Here's how to do it:
- We go to the folder that we want to compress, press Shift + Control + Right Button, to select the option of "Open command window here".
- We enter the command corresponding to the action we want to perform:
- To compress a single file: file name compact / c.
- Instead, to compress all the files in the folder we use: filename compact /c*.
- And to compress the files and subfolders of a folder: file name compact / c / s.
How to disable file and folder compression?
To perform the opposite action, that is, disable file compression in Windows, we will simply execute the same steps as for enabling, but unchecking the option that we have marked before:
- Again we click with the right button on the folder or file on which we want to act.
- Next we go to the option of «Properties».
- We look for the tab "General", in which we select "Advanced" in order to be able to access advanced attributes.
- The difference is in this step: when we are in "Compress" or "Encrypt attributes" we uncheck the option of "Compress content to save disk space".
- Finally we will validate the process by pressing first «OK» and then "Apply".
Here are the methods to follow using the NTFS compression and decompression feature. But we still have another tool to analyze to have an even tighter control of this type of actions on our computer.
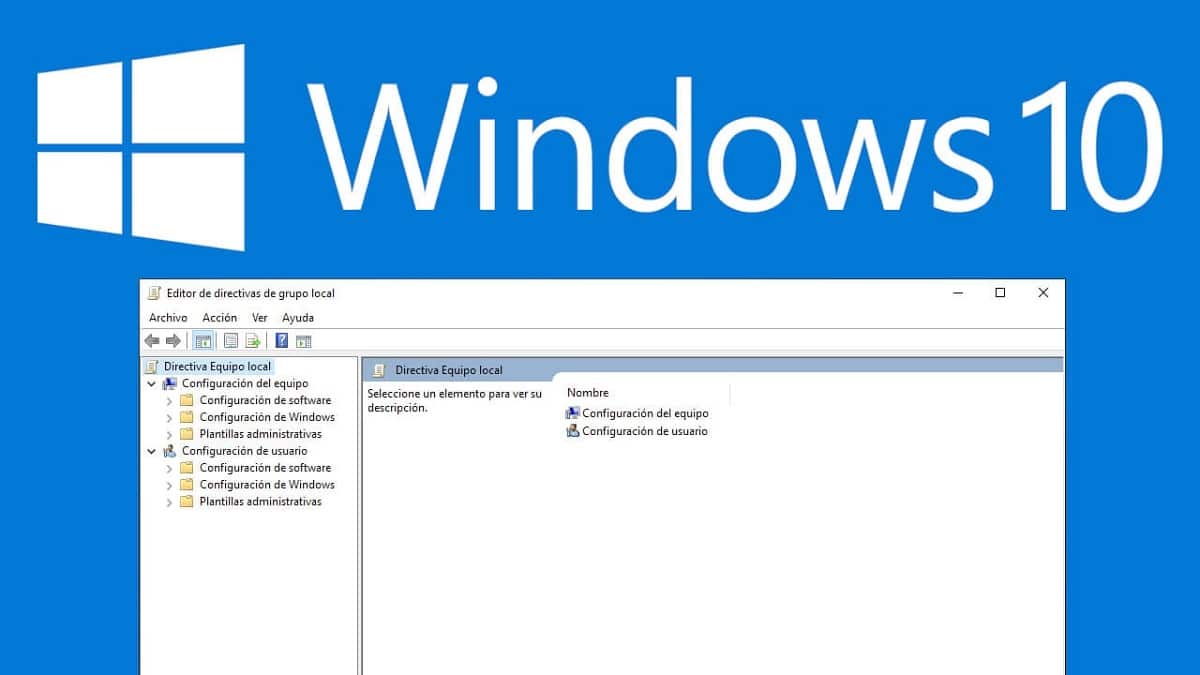
Use Group Policy Editor to disable file compression
Use Group Policy Editor to disable file compression
This is the most expeditious method if what we want is to prevent Windows 10 from compressing the files on our computer without permission: disable the compression of NTFS files using the group policy editor.
It is an internal tool that Microsoft's operating systems have. This editor allows us to exercise a greater control over the operation of our PC and it gives us the ability to make certain adjustments that are not available in the Control Panel or in the General System Settings.
Here are the steps to follow to disable NTFS file compression with Group Policy Editor:
- We press the keys Windows + R to open the run dialog box.
- In the box we write msc and click "Enter".
- Once the Group Policy Editor We select the following option path: Computer Configuration> Administrative Templates> System> File System> NTFS.
- From the options that open below, we choose "Do not allow compression on all NTFS volumes". There we click "Habilitado" and confirm with the button "Apply".
To carry out the opposite action, that is, enable compression, just follow these same steps and in step number 4 select "Disable" instead of "Enabled".
In any case, for the changes to take effect we will have to restart our computer.