The most recent Microsoft operating system has a large number of improvements in its interface, which pleases its users. As a disadvantageous note is the possibility of slowness in the system, in this post we will explain how to fix lag issues in windows 11.
Perhaps one of the most visible places where lag can be found in Windows 11 is in games, where various platforms have released some patches to improve this, however, andThe slowness problem may persist throughout the system.
4 easy ways to fix lag issues in Windows 11

Windows 11 in most cases, is based on upgrades from windows 10 for free, which in many cases can cause inconvenience due to space and installing one system on top of another.
So that you can reduce lag problems on your computer, we decided to make a list of 4 possible solutions. There are other methods to do it, however, these They are very simple and do not require in-depth knowledge..
Support you in the troubleshooting wizard

You may find this option somewhat basic, however, although not always with the best results, the troubleshooter has access to a large number of system elements and can offer an accurate diagnosis.
Regularly, Windows 11 system slowdown may occur after an upgrade and the troubleshooting wizard can give you details of it. The steps to follow are those:
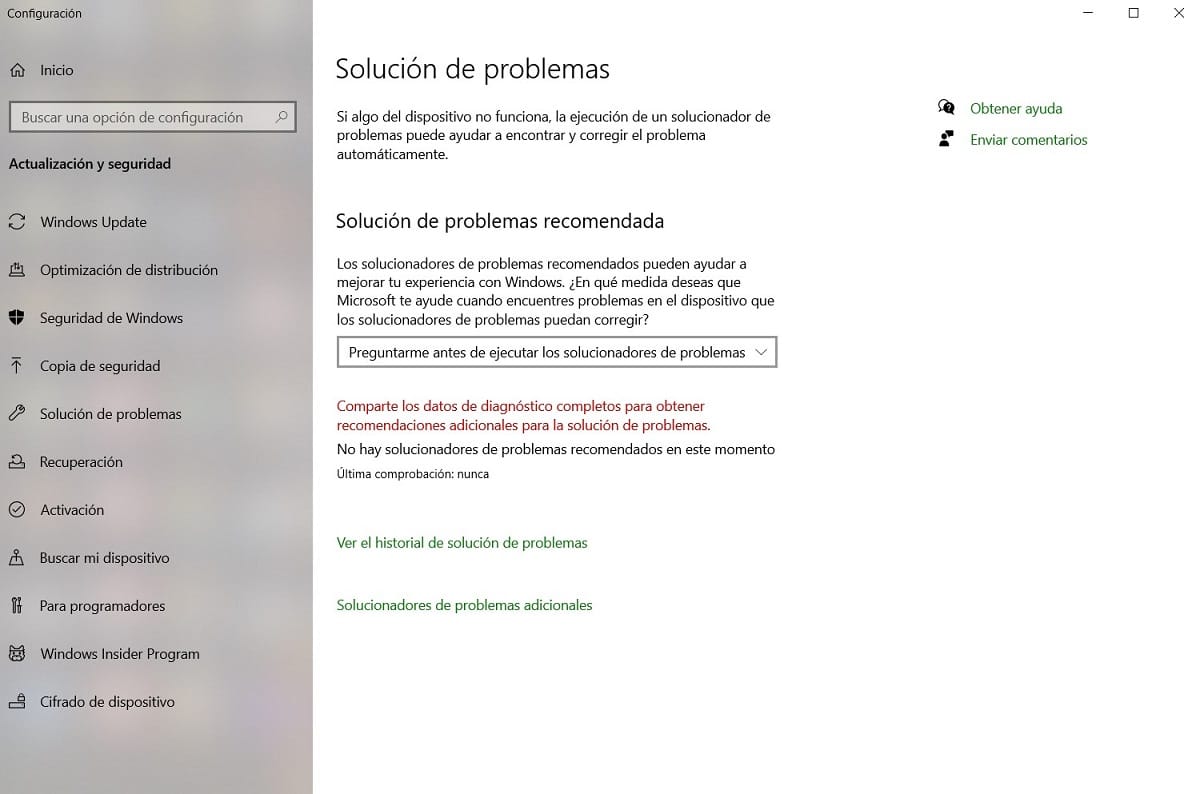
- In the start menu look for the option “Configuration".
- A new window will open in which we will locate “System".
- The option we will look for this time will be “Solve problems”, a button with an icon of a key.
- We will select the third option that appears, “Other problem solver".
- At this point we must choose in the new screen the option "Windows Update” and then we will click on the button “Run".

- It remains to follow the instructions of the wizard to make the pertinent changes.
- Once the process is finished, it is necessary to restart the system and verify that the problem was resolved satisfactorily.
Another assistant that can help you in this case is the “Program compatibility troubleshooter”. It is important to remember that features and software are inherited from Windows 10 and changes may be necessary.
Running DISM and SFC

Another possible cause of the problem is the corruption of some fundamental system files, these can be due to installation problems or even malwares that can attack our system.
These problems, although they sound somewhat complex, can be solved easily thanks to Windows' own tools. Do not be scared, we will use a not commonly used screen, the Command Prompt. The steps to follow will be the following:
- The first step is to start the command prompt, for this we can use the Windows search bar or with the help of the keyboard shortcut “Win + R".
- In the bar we will write the word “cmd” and we will press “Enter".
- The search window will offer you the highlighted options and we must choose the one that says “Command Prompt”. To do this we will right click on it and choose “Run as administrator".
- Subsequently, the system will request confirmation of entry, we will click on the button "Si".
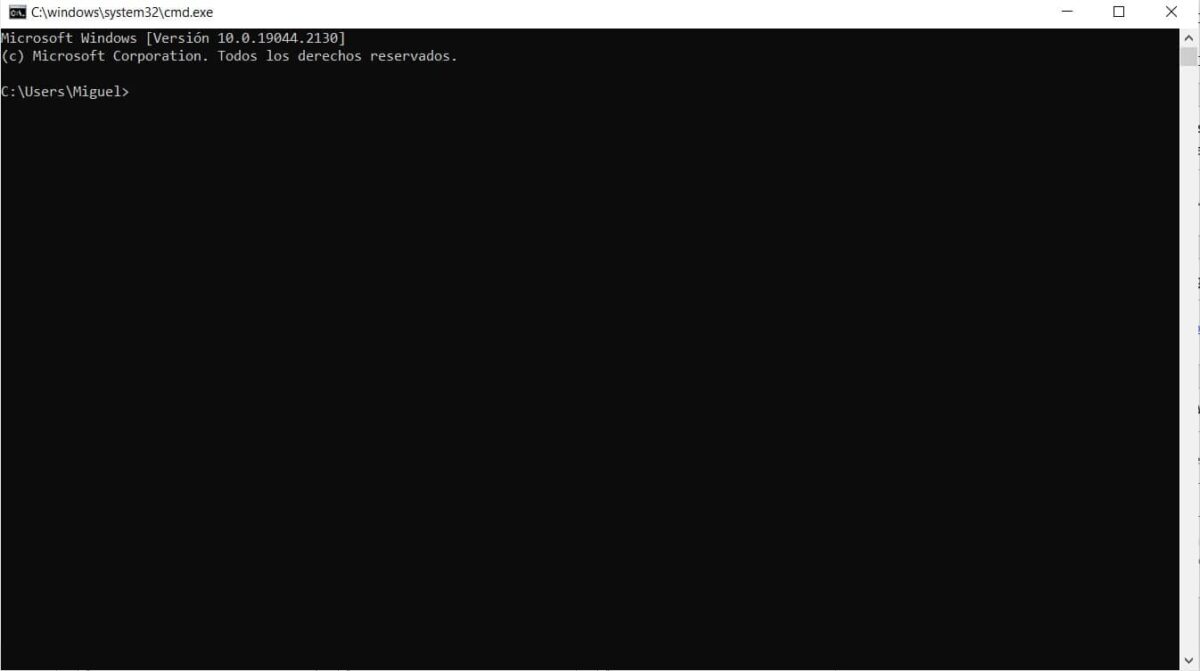
- When executing, a black screen with white characters will appear. In it we must enter only commands written on the keyboard, losing the option in that window to use the mouse as we always do in Windows.

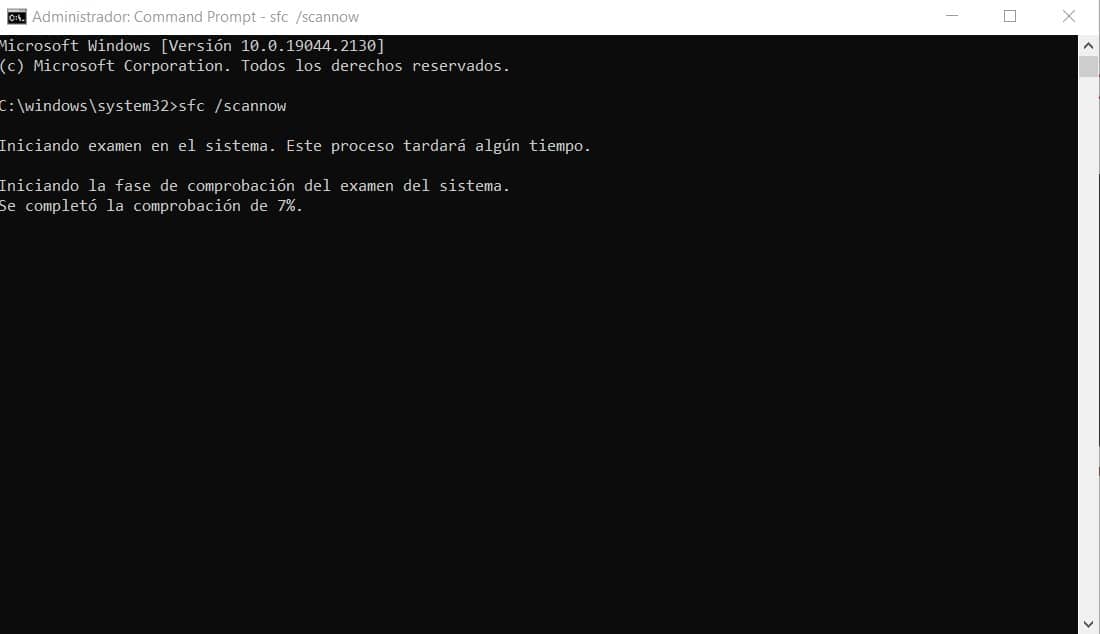
- We will write the command:sfc / scannow” and then press the “Enter” to confirm its execution. This process may take a few minutes, we must be patient.

- Then, we must write new commands, repeating the previous process. These commands are:
- DISM / Online / Cleanup Image / CheckHealth
- DISM / Online / Cleanup Image / ScanHealth
- DISM / Online / Cleanup Image / RestoreHealth
- Like the first scan, it is necessary to press “Enter” after each command and wait a few seconds.
- Once the processes are completed, it is necessary to restart the system to verify the changes and improvements. When you open it, the Command Prompt window should not appear where you were typing the commands.
Check boot section

One of the most accessible and problem-solving tools is the Task Manager. For this method we will use it. The steps to follow with this method will be:
- Open the task manager. A quick way to do it is with the keyboard shortcuts, you just have to press together “Control + Alt + Delete".
- In the window that will open, we will locate the tab “Home".

- The software that you will appreciate here are those that can open automatically when Windows starts, some can slow down its startup or even subsequent processes.
- We will make a simple click on the application that we want not to run automatically and then a right click. In the options we must click on “to disable".

It is important to clarify that this procedure will not delete, block or uninstall the applications or software, it will simply disable them from running automatically at system startup. We can execute any manually whenever we want.
Restore updates to the last one that worked

Regular updates can bring system changes that are not always configured properly, so they can at some point cause problems.
In this method we will show you how uninstall the last update made Step by Step. It is essential that you know that this procedure cannot be done after long periods of time after the update has been made.
- On your keyboard simultaneously press “Win + R”, which will take you to the run menu.
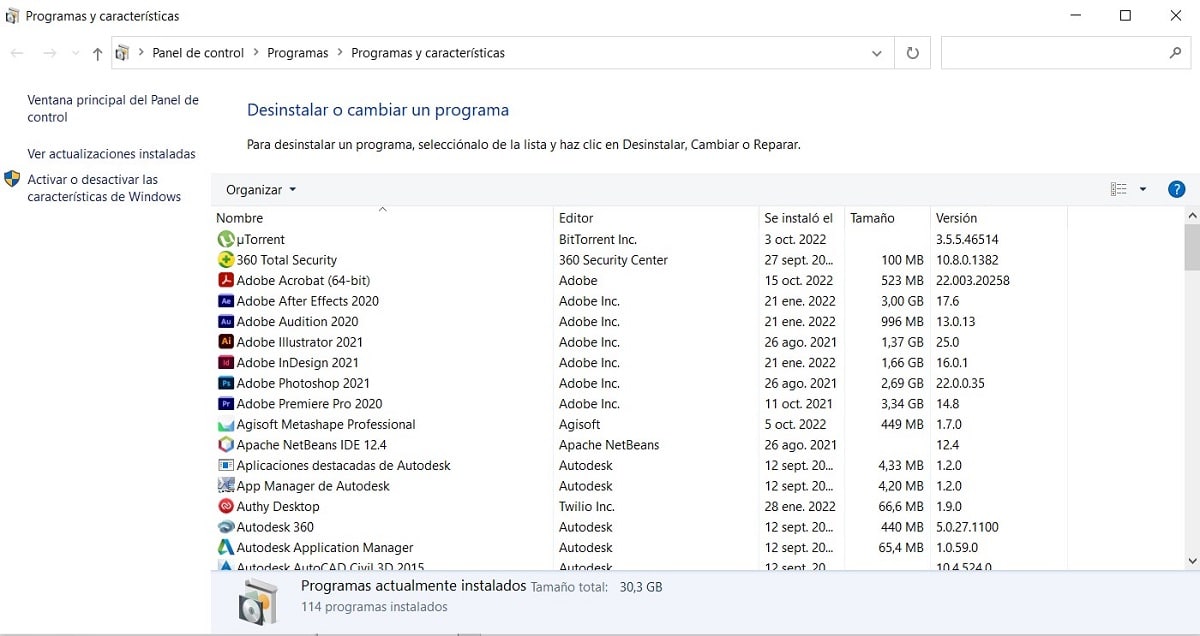
- Type in the open space the following command: “appwiz.cpl” and then press the key “Enter".
- You will be redirected to the option of “Programs and Features”, where you can view all the software installed on your computer.
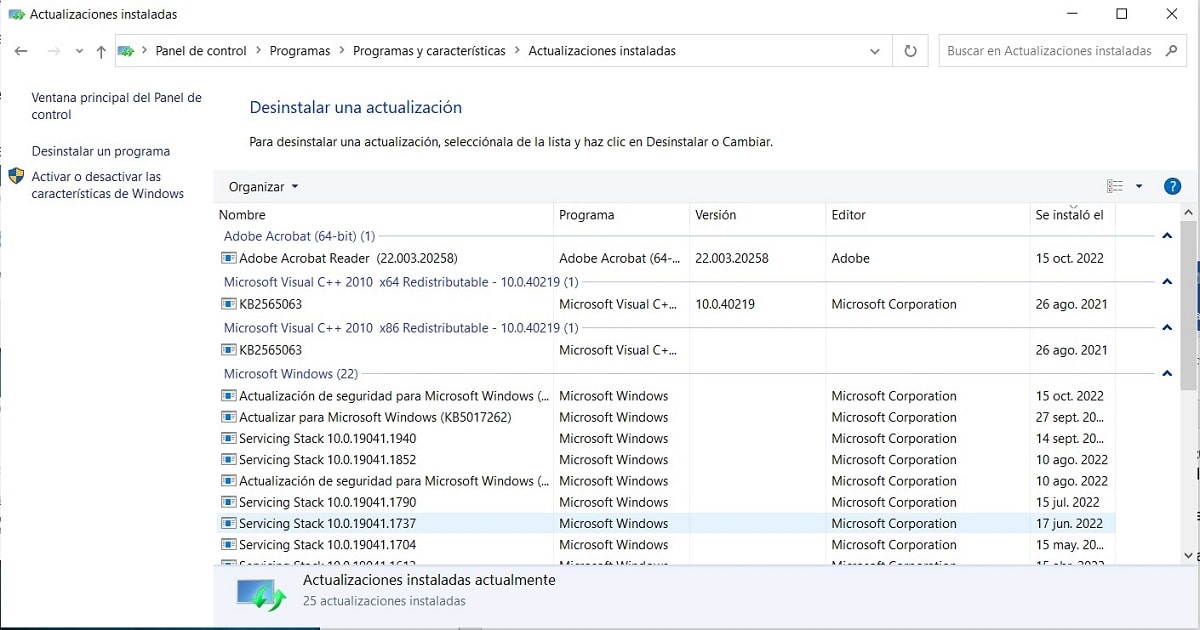
- In the left column we will look for the option “View installed updates”. We will click.

- The updates will appear organized chronologically, you should look for the one that you think may be causing problems.

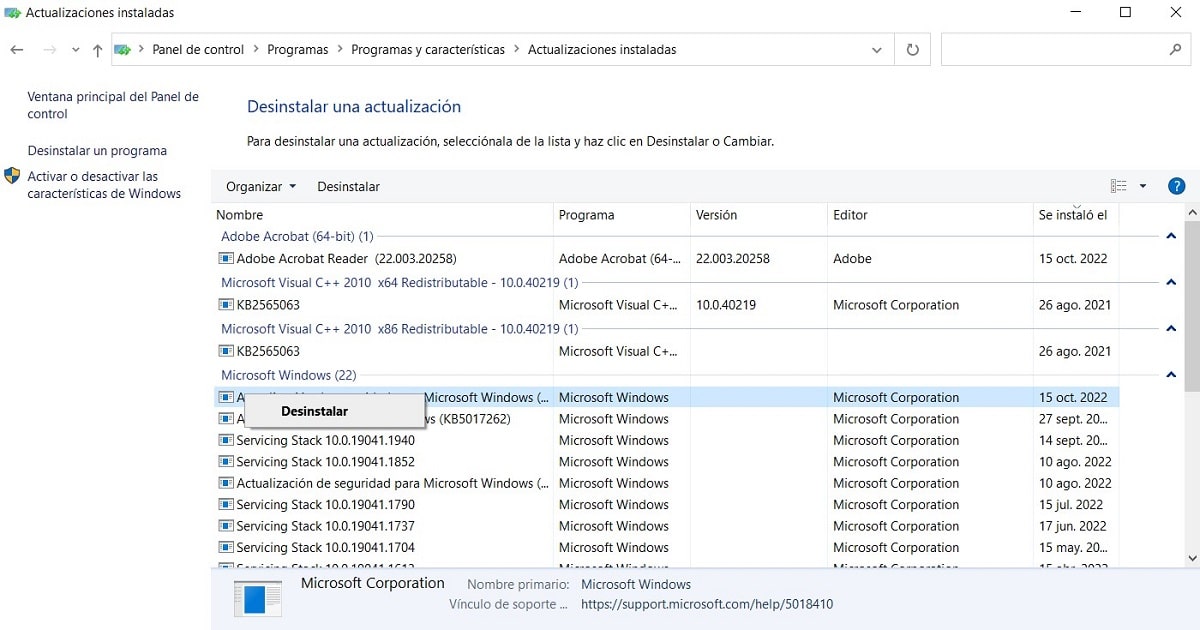
- We will right click on the update that we want to delete and the option “uninstall”. We will click, follow the Windows instructions and wait a few seconds.
- At the end we must Restart the system. When it starts again we will be able to verify if the problem has disappeared and then perform the update again if we consider it so.