06
Taking screenshots is a really practical function, whether using a smartphone, tablet or computer. Microsoft's desktop operating system has long offered numerous options for take a screenshot. Windows 11 is no exception.
The truth is that with each launch of a new version of the operating system, new ways of capturing screen images have been added. And there came a time when things had to be done simpler. Less is more is already known, at least in some cases. That is precisely the great contribution of Windows 11: simplify the matter.
In this post we are going to review the best ways to take screenshots on our computer with the latest version of Windows. The methods range from keyboard shortcuts to more modern and capable tools that allow us to do curious things like set timers for screenshots, as well as edit and share them. An ocean of possibilities at our fingertips.
These are the most effective methods to take screenshots in Windows 11:
Print Screen key

How to take a screenshot in Windows 11: Print Screen key
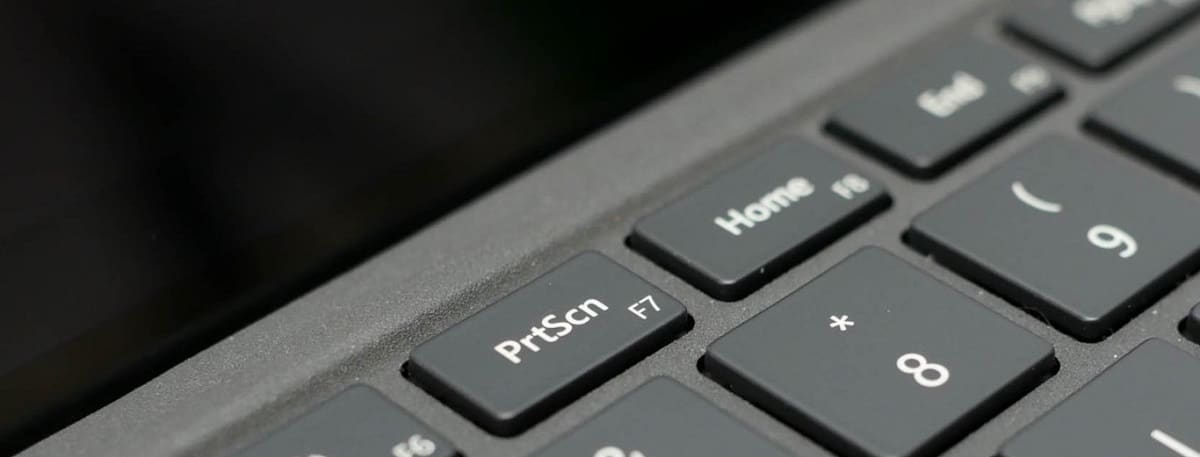
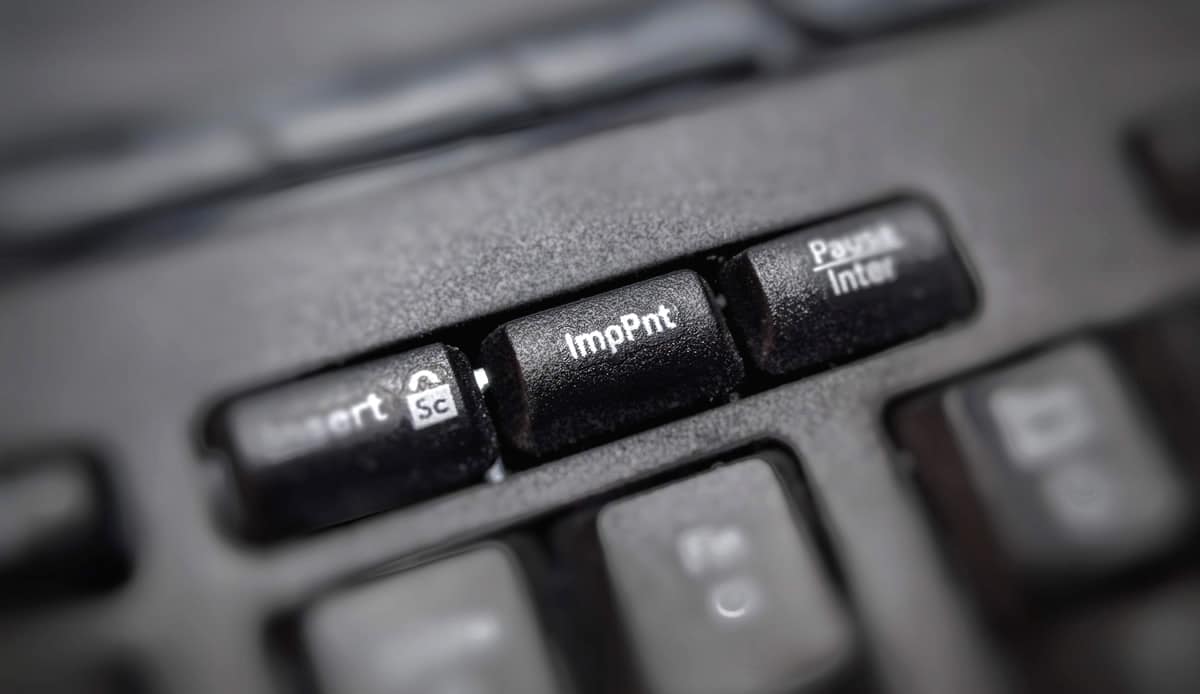
This is the most popular and classic way to take screenshots. It simply consists of press the Print Screen key (PrtSc on English keyboards). In doing so, the image that we have on the screen at that precise moment is automatically copied to the clipboard. Then you just have to paste it into any application that accepts pasted images: Paint, Paint 3D o Adobe Photoshop, For example.
Alt + Print Screen
But if what we want is to capture only the application window that we have active (not the content of the entire screen), we must add another key. Thus, the combination is that of Alt + Print Screen. The result will be the same as in the previous action: copying the image to the clipboard, which we can then paste into another application.
Windows key + Print Screen
If what we want is to take screenshots and automatically paste them into another file, we can use the following combination: Windows key + Print Screen. By doing this, the screen goes dark for a few seconds and is automatically saved as an image file on the screen. Pictures folder, specifically in the subfolder "Screenshots by default."
PrtSc with OneDrive

Take a screenshot in Windows 11 with OneDrive
You can also use the Print Screen (PrtSc) option in combination with OneDrive. The idea is to configure the command so that an image file of our screenshot is automatically created in OneDrive. It is a method that differs from the previous one, as it offers different results. This is how we should configure it:
- First we go to the OneDrive settings from the cloud icon on the right side of the taskbar.
- Then we access the tab "Backup" from the dialog box and select "Save screenshots automatically".
The great difference of this method with respect to the previous one is that it allows us to capture and save the image of the screen without having to open an application or paste it from the clipboard. Instead, an image file is automatically created in the OneDrive folder of our choice.
Among other advantages, this system can be used from any device with access to OneDrive. Very comfortable.
Snipping tool

Using the Snipping Tool to take a screenshot in Windows 11
Where the advance of Windows 11 is best reflected in terms of simplifying screen capture processes is in this tool. In the new version it is called Snipping, but in reality it is the fusion of the old Snipping function and the excellent Snip and Draw tool implemented in Windows 10. The name chosen for this new tool is Snipping tool.
To access this tool you must use the following combination on our keyboard: Windows key + Shift + S. This keyboard shortcut gives us the option to take a screenshot using the following options (as shown in the image above):
- Freehand selection.
- Rectangular selection.
- Full window.
- Full screen shot.
After choosing one of these four options, a thumbnail image of the capture will appear in the lower right corner of the screen. There we will also see the button "Share" to send the image, print it, or open it in another application.
If the capture has been unsuccessful, the whole process can be undone by pressing the «Esc» key.
A very interesting feature that Windows 11 introduces in terms of screenshots is that of the with a timer. This allows us to program the exact hour and minute in which we want our computer to take a screenshot. It can be useful to control processes or to "spy" on other users who use our equipment, among other things.
Screenshots with the Game Bar

Screenshot in Windows 11 from the Game Bar
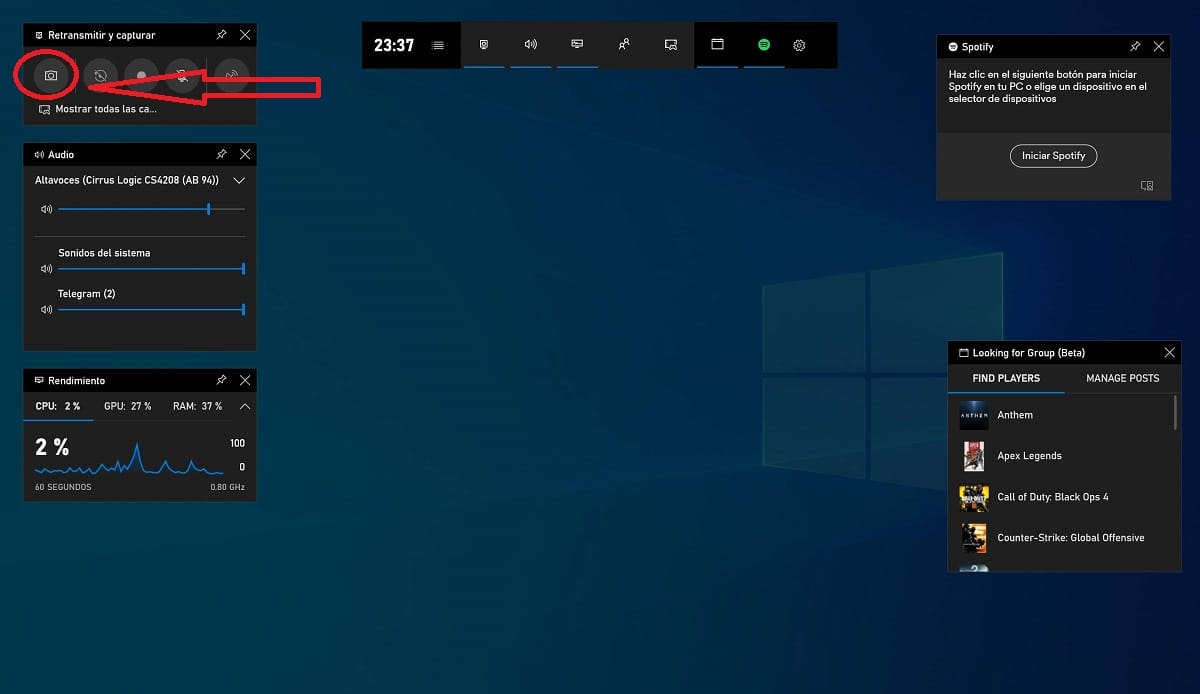
The ability to take screenshots with the Game Bar already existed in Windows 10 and is still available in Windows 11. The Game Bar was introduced so that players could record and share their games quickly and easily. However, its use spread to many other areas.
To access the Game Bar it is necessary to simultaneously press the Windows key + G. In the menus that appear, you have to go to the upper left corner, where the icon of the small camera is located. By clicking on it, the screenshot will be saved in the Videos / Captures folder. You can change the destination folder in the main Windows Settings application.
External Screenshot Applications

External Screenshot Applications
Some users prefer to use applications outside of Microsoft for their screenshots. Not because they work better, but because they offer other interesting options. These are the most used, which we can also use in Windows 11:
Screenshot
It is the easiest application of its kind to use. It should be noted that it does not include editing options. That means using Screenshot we will have to export the copied image to another application to make the desired adjustments.
Download link: Screenshot
ShareX
A free software that includes numerous options: full screen capture, active window, web page, text and much more. Regarding editing, ShareX offers the possibility to carry out the most varied tasks, from adding image effects or watermarks to entering annotations, copying, printing, saving a thumbnail and uploading.
Download link: ShareX
Quick Capture
Quick Capture allows us to enter the URL to capture an image of a web page and then share it easily. It works very quickly, even in its free version. The only downside is the excess of advertising.
Download link: Quick Capture