
How to put a background image on Word sheets?
When we make use of the tools of the Microsoft Office Office Suite on our computers, we can manage to do all sorts of things. In any of them, as Wordwhat is the east editor of documentos of it, we are offered an incredible number of functions, which can be of interest to anyone. For example, him “put image background word”. Function that can be an excellent way to give a new touch to our documents, whether they are personal, educational or work.
Consequently, this allows us to design from beautiful invitations or personalized cards, to work documents with official images, among other things. And since working with images is not always that easy in practice, knowing precisely cHow to put a background image on Word sheets, it can turn out to be something very practical and fast, as we will show in this publication.

And as usual, before delving into this present publication on the field of activities or tasks on office tools, and specifically about how “put image background word”, we will leave for those interested the links to some of our previous related posts with that theme. So that they can do it easily, if they wish to increase or reinforce their knowledge on this point, at the end of reading this publication:
"Microsoft Word is one of the most used programs around the world on a daily basis. Millions of people use it, both for their work and for their studies. It is a program where we have a multitude of functions, which make it a most versatile tool. Among the functions available in Word we have the possibility of making an outline. This is something that may be necessary on many occasions, although many users don't know how to make an outline in Microsoft Word. And then we tell you how it is possible to make one.” 1.- How to make an outline in Word
2.- How to make a plan in Word: step by step
3.- How to add additional fonts to Word

¿How to put a background image on Word sheets?
Steps for put a background image on Wwords
Next, we will detail the simple sequence of steps with their respective images demo to quickly and easily master this useful feature of “put image background word” en Microsoft Word.
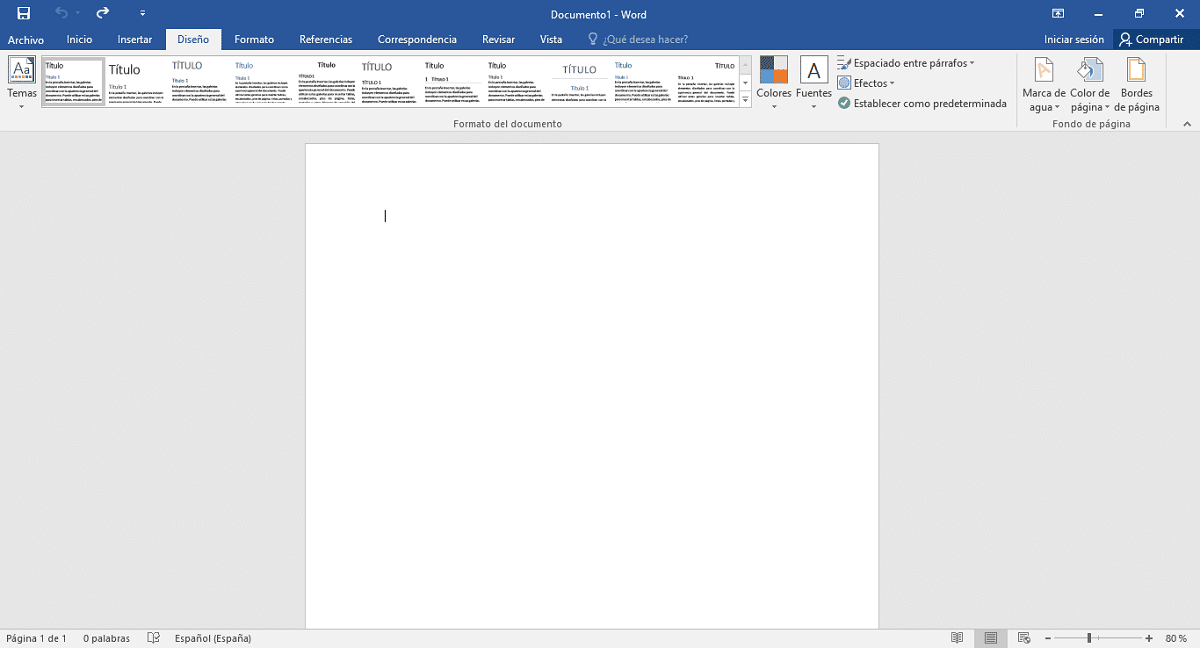
Step 1:
Open the application Microsoft Word and click on the tab "Page design" or simply "Design".
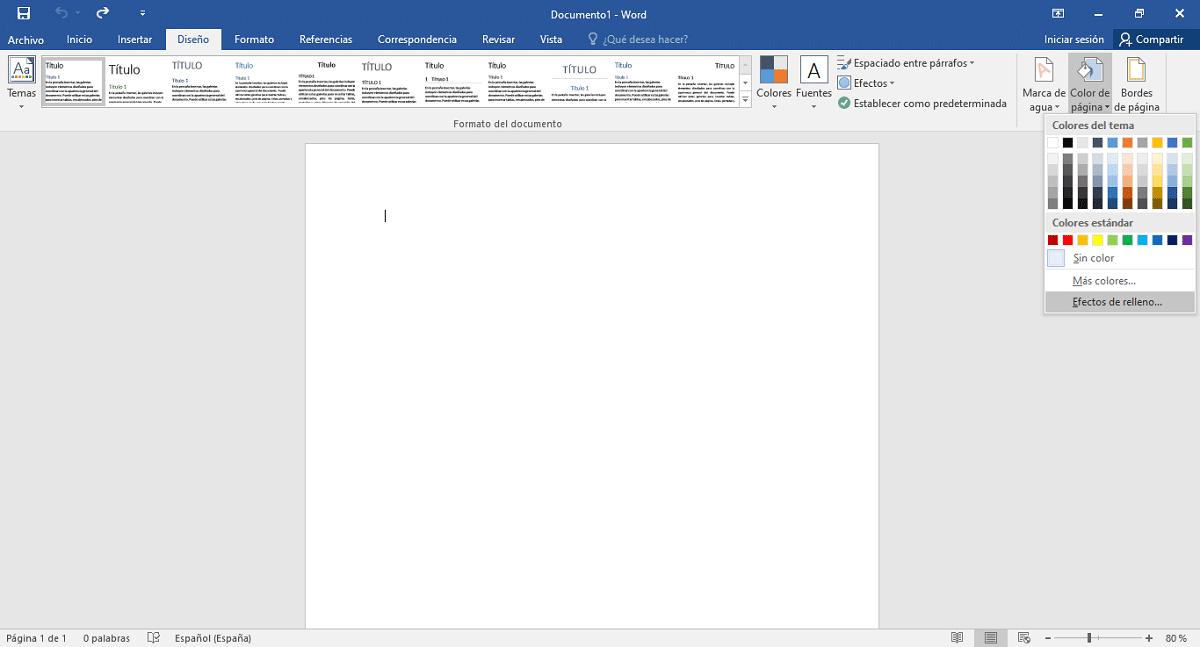
Step 2:
Then click on the icon (button) called "page color". And in the displayed menu press the option called "Fill Effects".
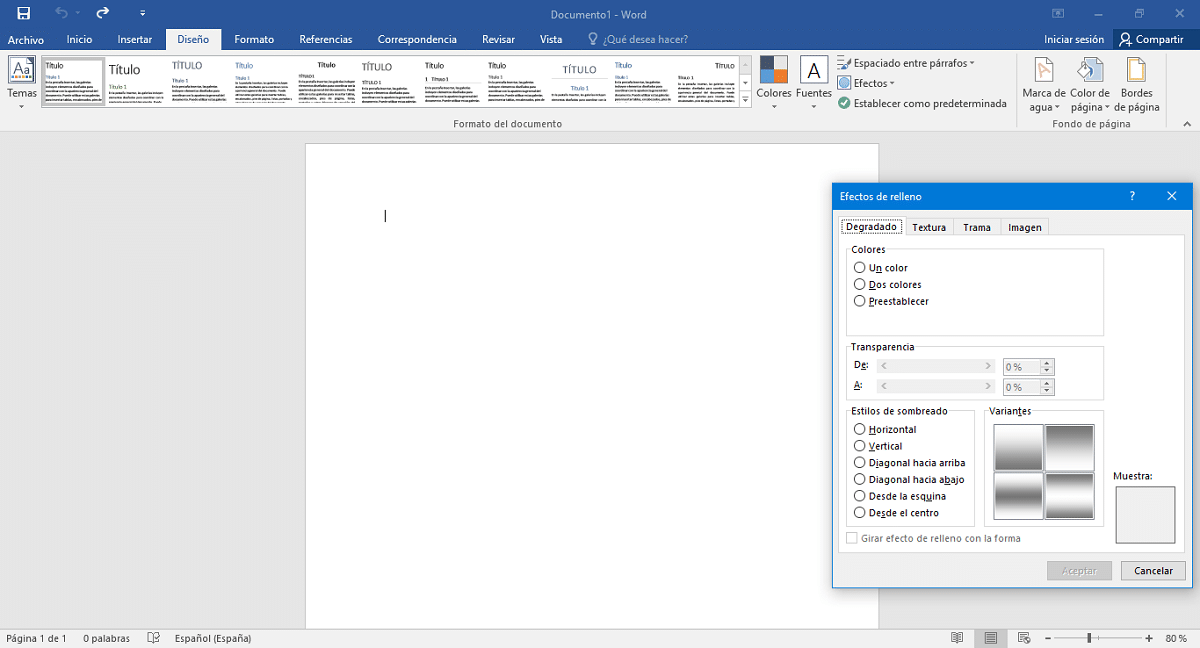
Step 3:
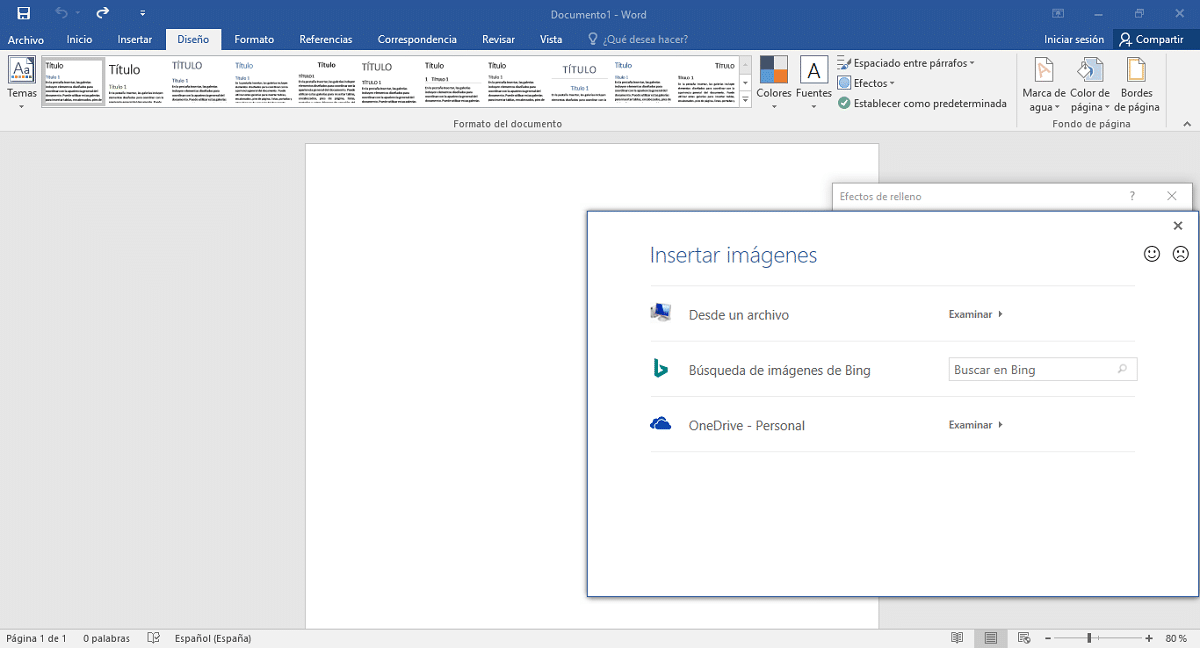
In the new popup called "Fill Effects", whose options are: Gradient, Texture, Pattern and Image; the last one must be selected, that is, the "Image" tab.
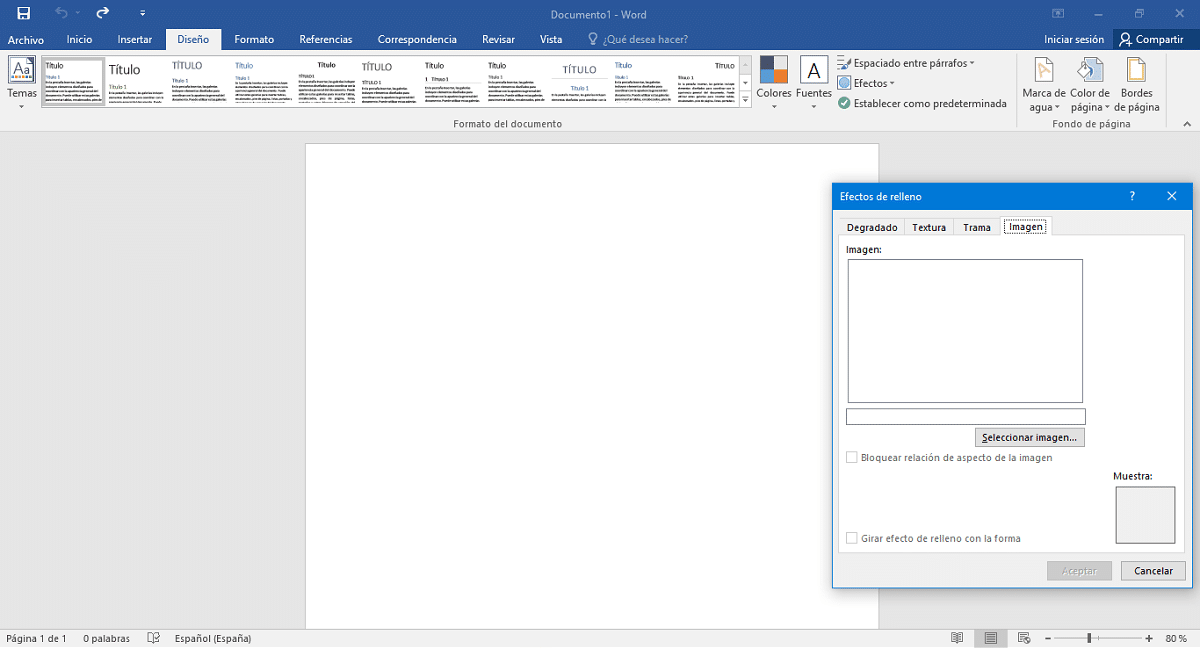
Step 4:
Already inside the "Image" tab we have to click on the button «Select image», to then choose the image or photo that we want or need to insert, to finish by pressing the insert button. This will cause the image to appear in the document preview pane under the "Image" tab.
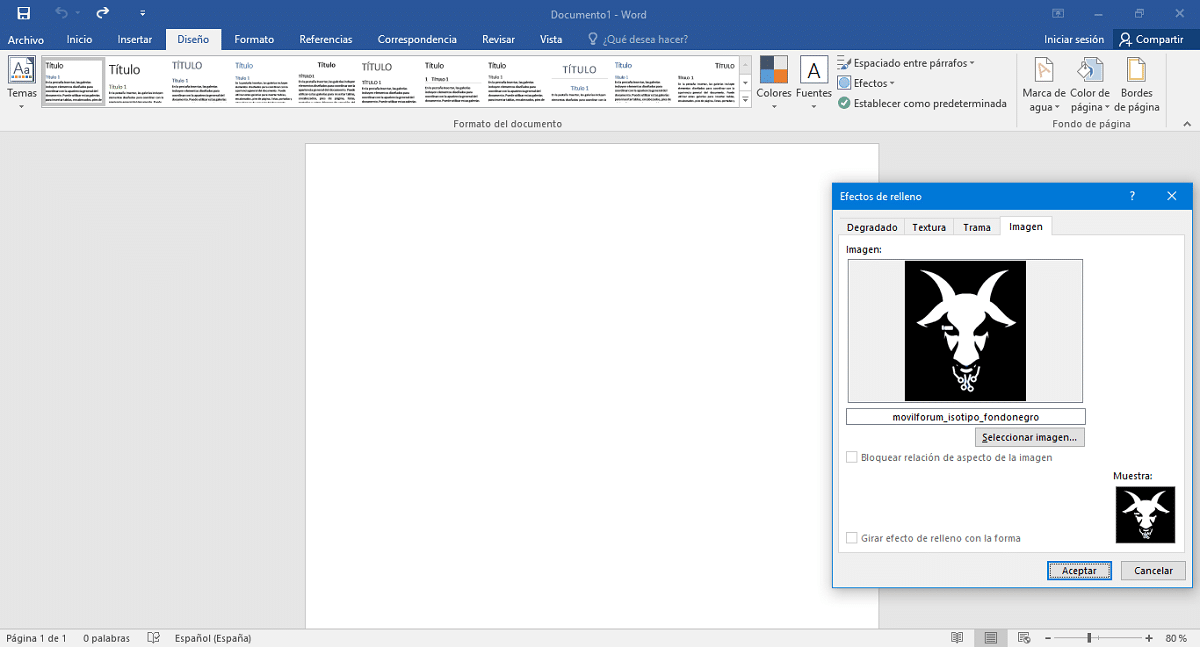
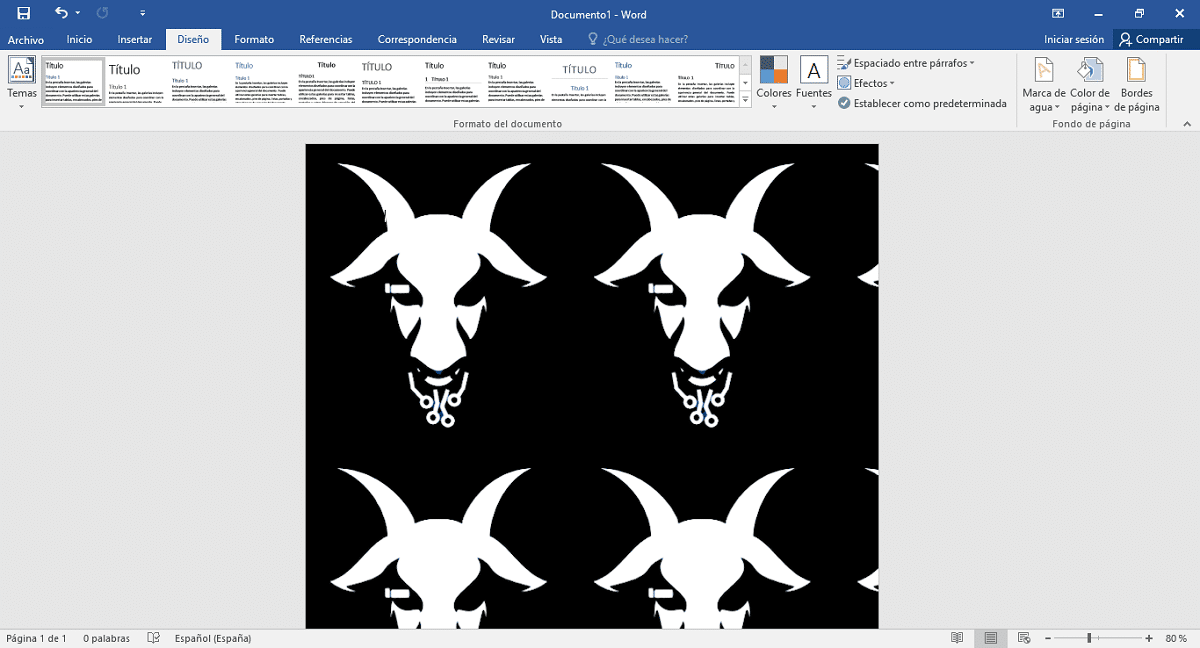
Step 5:
If the desired image or photo is displayed correctly, we must proceed to press the button «OK». So that the image be inserted into the word document background that is being worked on.
Step 6:
and if desired adjust the image or photo to the entire surface of the word document sheet worked, you must drag the "Zoom" slider that is at the bottom, to the left or to the right, in order to achieve the desired or necessary adjustment. You can also click on the "zoom bar" and make changes more easily on the "Zoom" window.
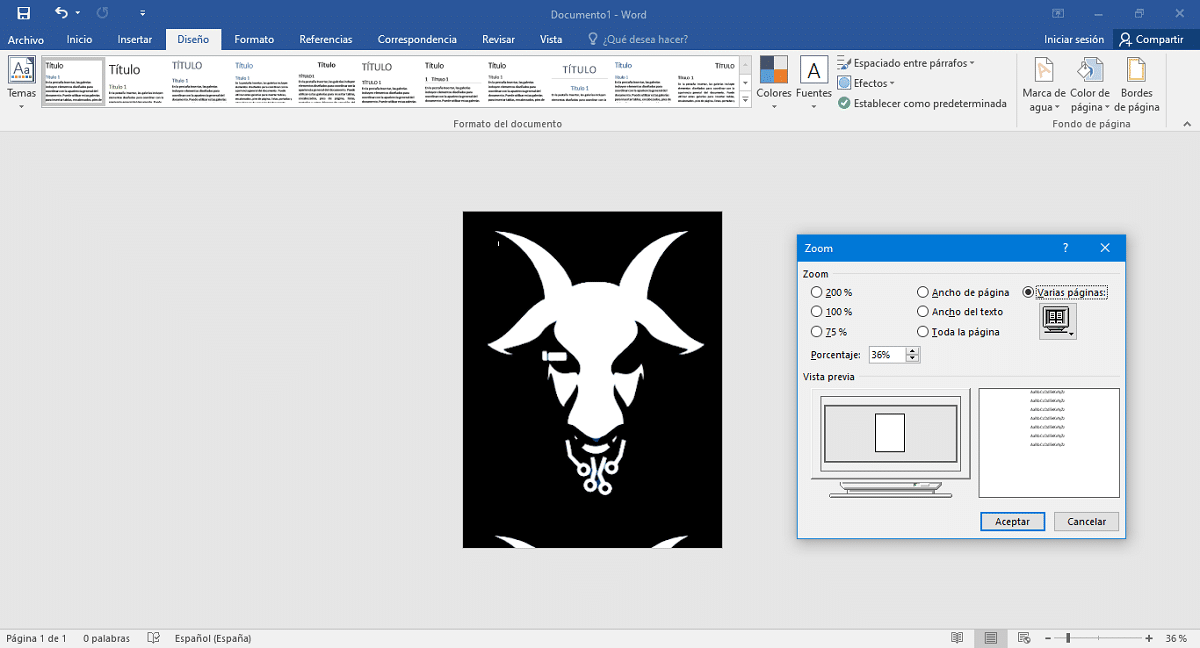
Note: In case we do not like the final result regarding the size in the document, we can try to modify the size of the image or photo used, before inserting it into Word, in order to improve the quality of the image or photo, and its correct fit within the document.
Steps for put a background image on Word as watermark
If the background image that you want to insert stands out a lot on the document, we can take the alternative way of inserting said image or photo file as a watermark, in such a way that it looks like it is below the text layer of the document. What it does, that it is perceived with a more subtle or transparent visual appearance. As shown below in the following sequence of images:
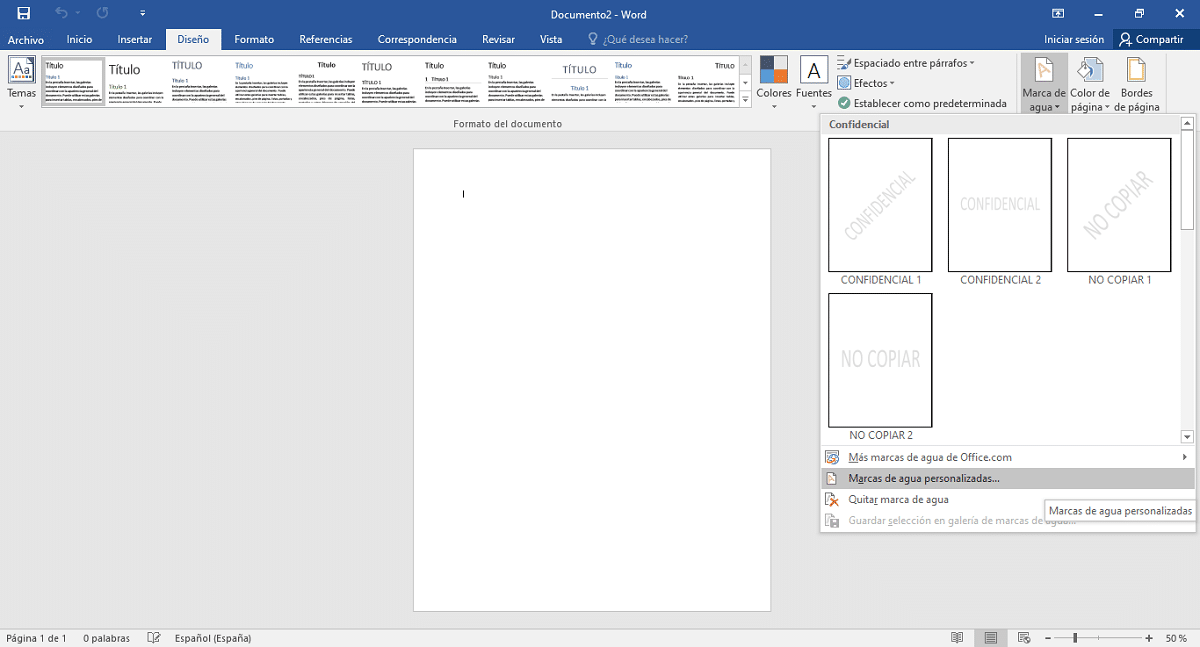
Press the "Watermark" button and then “Custom Watermarks”.
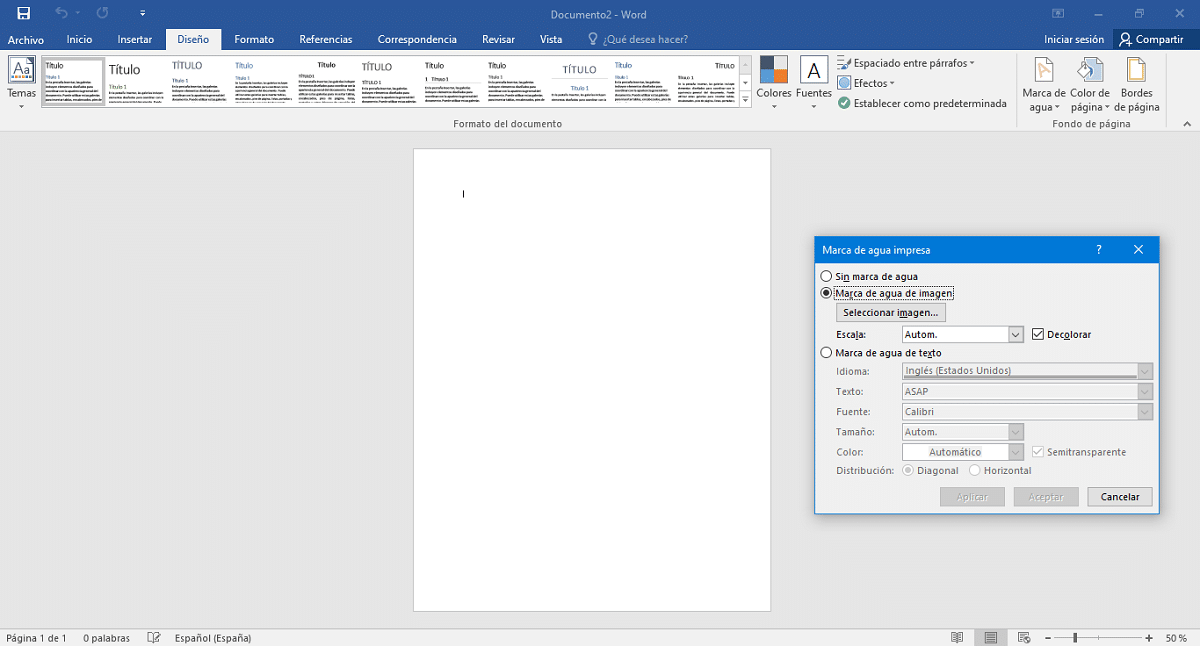
In the new “Watermark” popup, press the “Image Watermark” option.

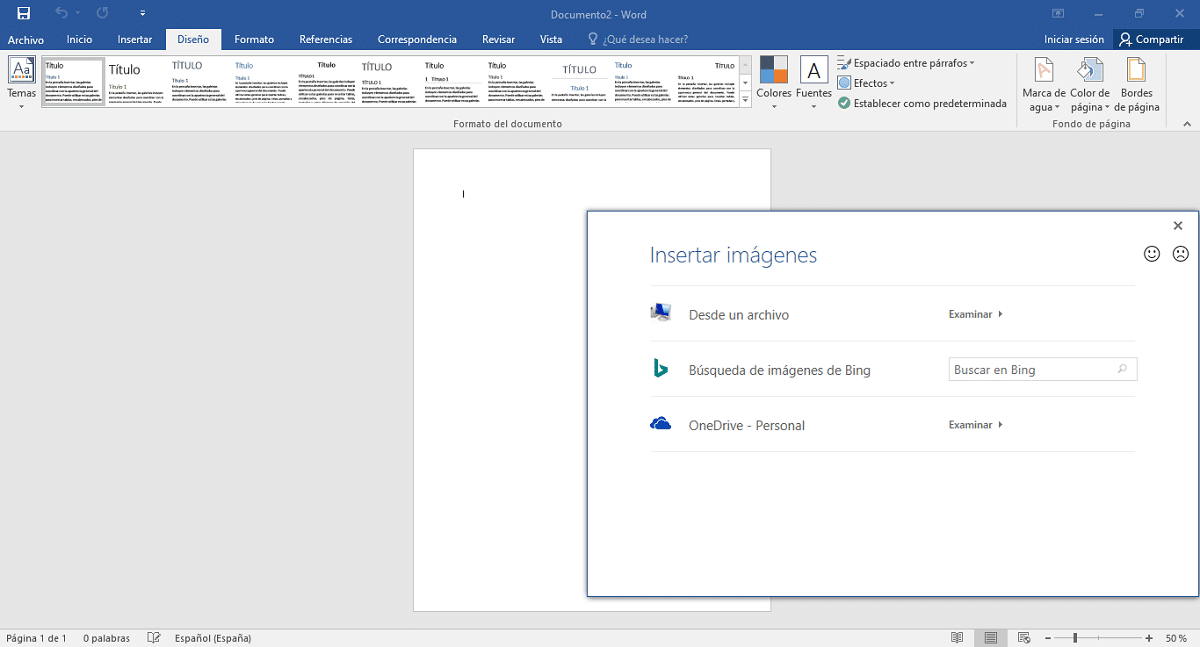
Press the "Select Image" button to search and choose the desired or required image or photo file.
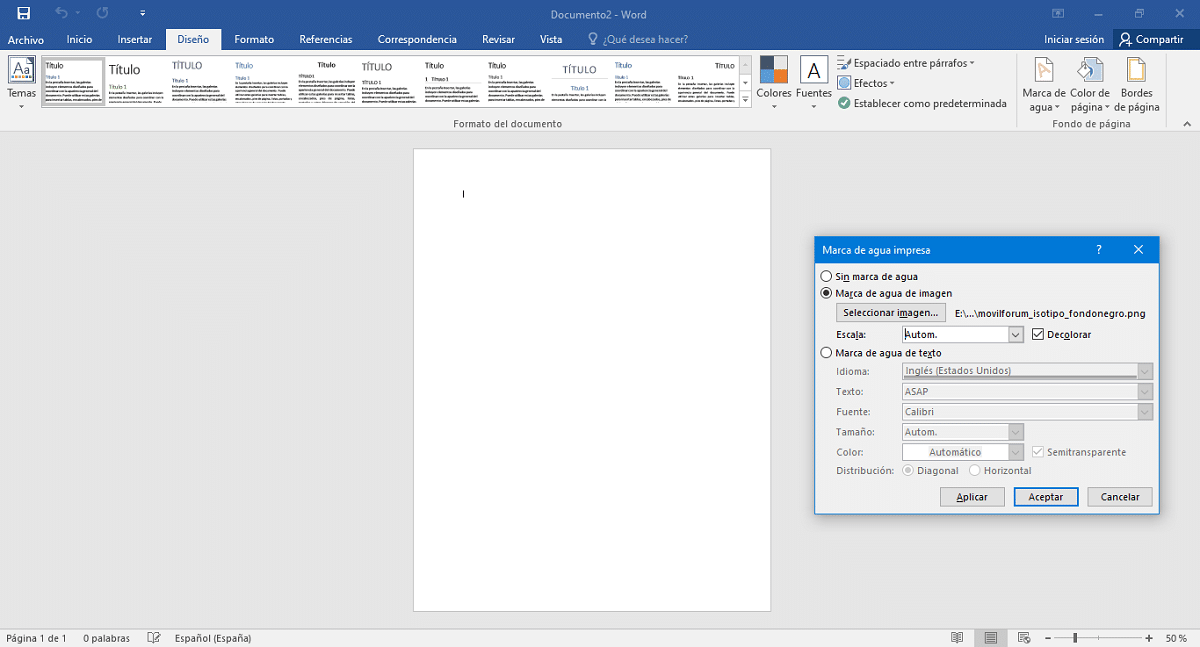
Once selected, we only have to press the accept button to see how said image or photo file is embedded as a watermark on said document.
Official Word Support
In case you want to go deeper into the topic of managing images on Word you can directly explore the following link «Insert tables, images and watermarks«. While, for all kinds of topics, you can explore this other one called «Word Help & Training«.

Summary
In short, as you can see “put image background word” It is not only something simple, but it is also something quick, when you know how to do it. And very useful, when it comes to making documents with a more advanced degree of personalization, which adapts to our tastes and needs, both personal and professional, as well as educational and work-related.
Finally, we hope that this publication will be very useful for the entire «Comunidad. And if you liked it, be sure to comment on it here and share it with others on your favorite websites, channels, groups or communities on social networks or messaging systems. Also, remember to visit our HOMEPAGE to explore more news, and join our official group of FACEBOOK.
de nuestra web»