The signature gives all types of documents the legal validity to say that we agree with the content in the document. For this we will show you how to sign documents from google docs step by step and in a simple way.
Signed documents have the advantage that does not need to be printed to capture the rubric and later digitize, which means a waste of time, material or even not having where to store at the end of the process.
With this technique, documents can be legally signed and sent via email and other digital media quickly and easily.
Step-by-step tutorial on how to sign documents from Google Docs

Google Docs is a powerful online tool that emulates desktop software for document redaction or even the management of spreadsheets. Developed to work under the Google platform, it allows access by having a Gmail email account.
To make this digital signature you do not need to install any additional software or plugins, because Google Docs has the necessary tools.
In a few steps we will show you how you can sign documents from Google Docs, just you require a web browser to do it. The necessary steps are as follows:
- Open your Gmail account in a web browser, for this you only need your usual credentials. This process may be easier in Google Chrome, a browser with features compatible with the platform to be used.
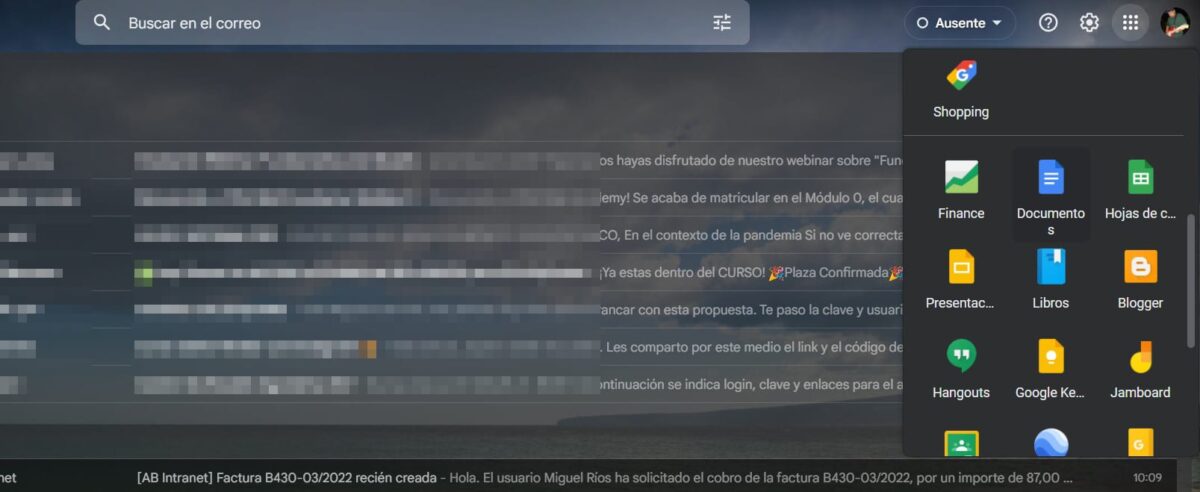
- Once inside the mail, we will click on the google apps, a button with a series of dots in the form of a box, is located next to our profile picture.

- Here we can see the Google applications linked to each other. We scroll down the menu, looking for Google Docs. The icon is a leaf with blue details.

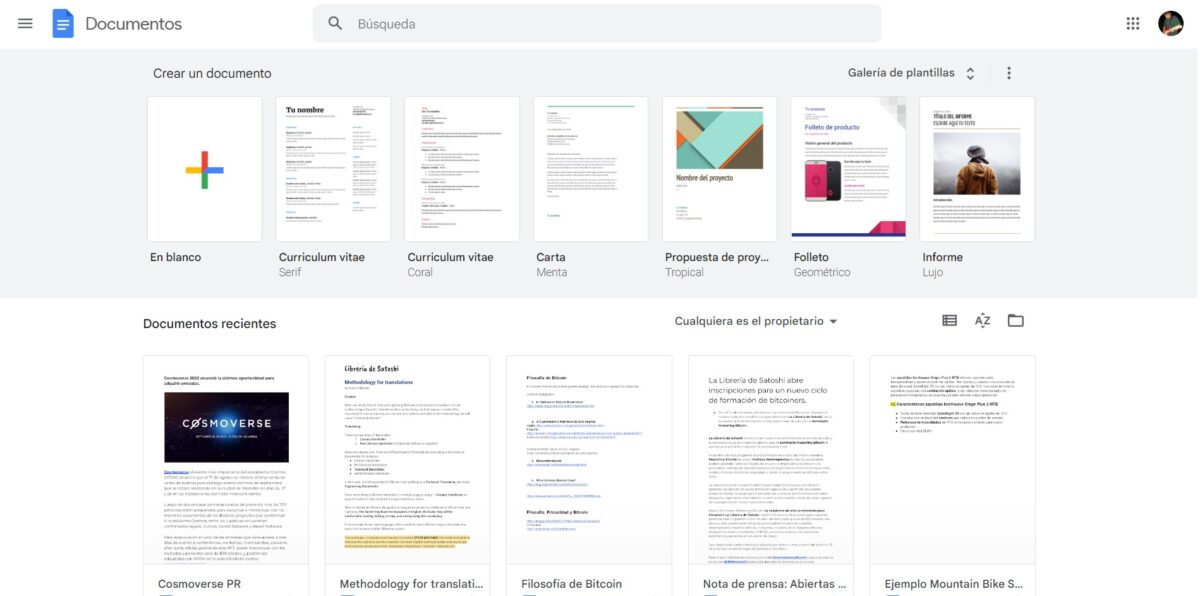
- When we click, a new tab will appear with a large number of options, highlighting the creation of a new document and the recent ones that we have opened or edited.

- In this opportunity we will click on the option “In white".
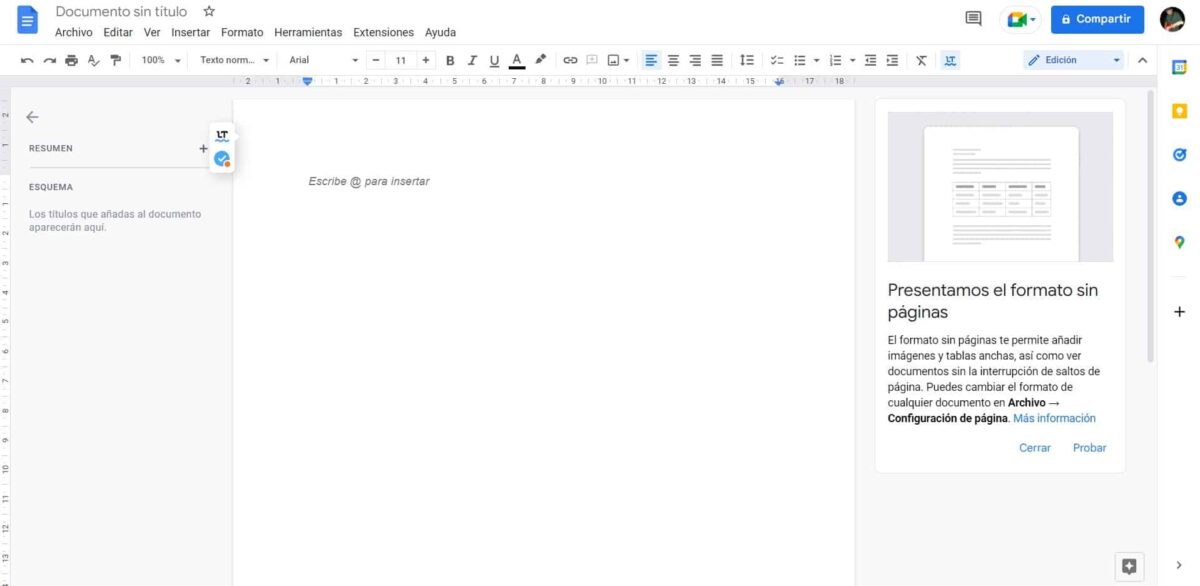
- If we have never used Google Docs before, a brief guide will appear showing the essential features of the tool. Otherwise, it will open a blank document, very similar to Microsoft Word.

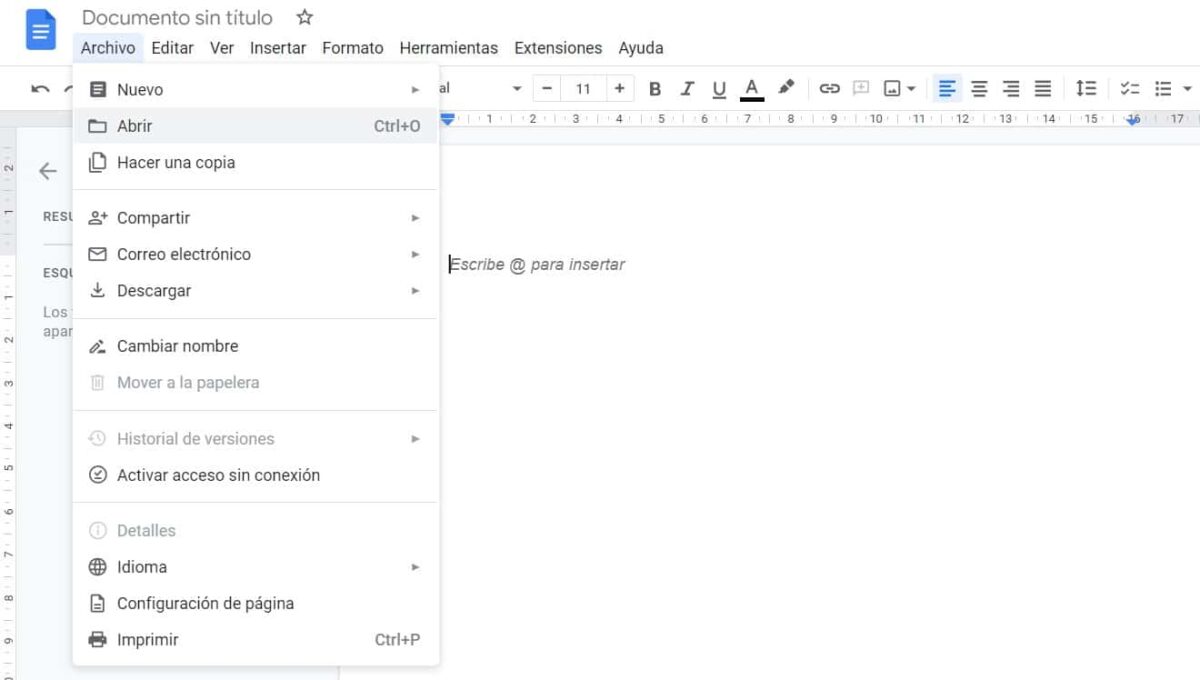
- In case you have the document ready, you can import it, for this we will only click on “Archive”Y later in“Open".

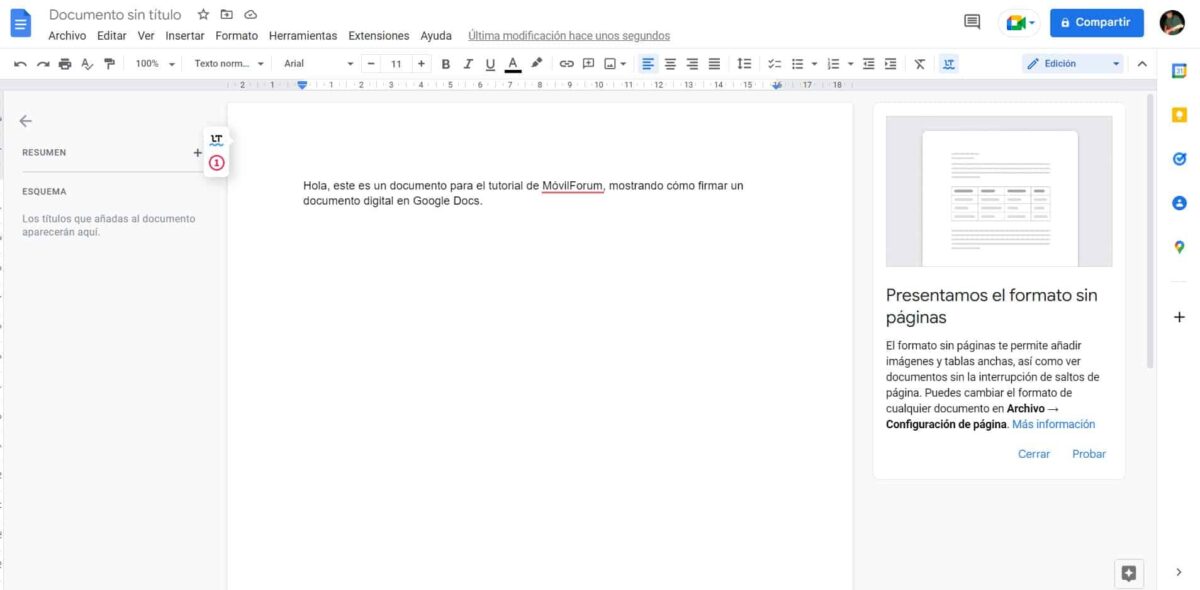
- On the other hand, you can directly compose the document in Google Docs, just hover over the blank area, and start typing. Saving within the document is automatic, an important advantage.

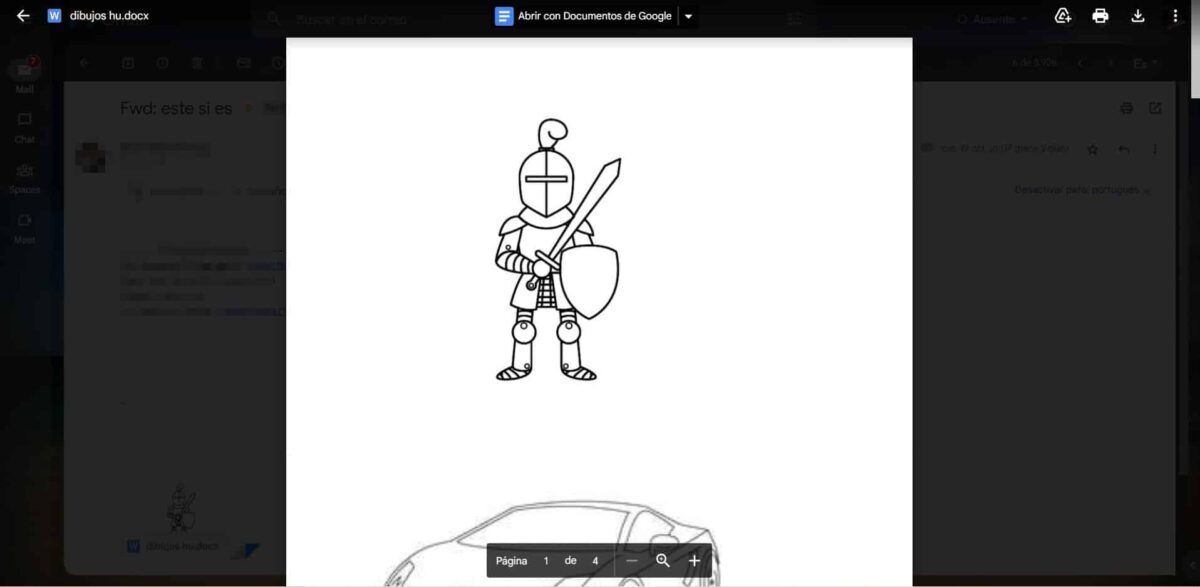
- Another possible case is that the document is received via email. This can be opened directly from the mail with the option “Open with Google Docs”, located at the top of the preview screen.

- It is also possible to import documents from Google Drive, by clicking on the file, previewing it and repeating the previous procedure.
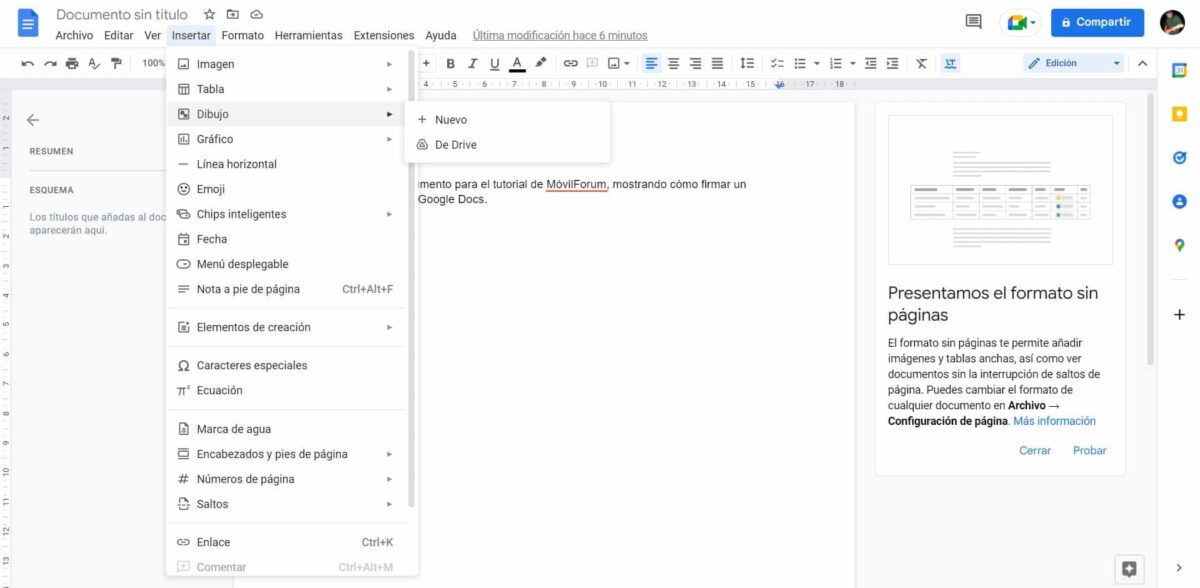
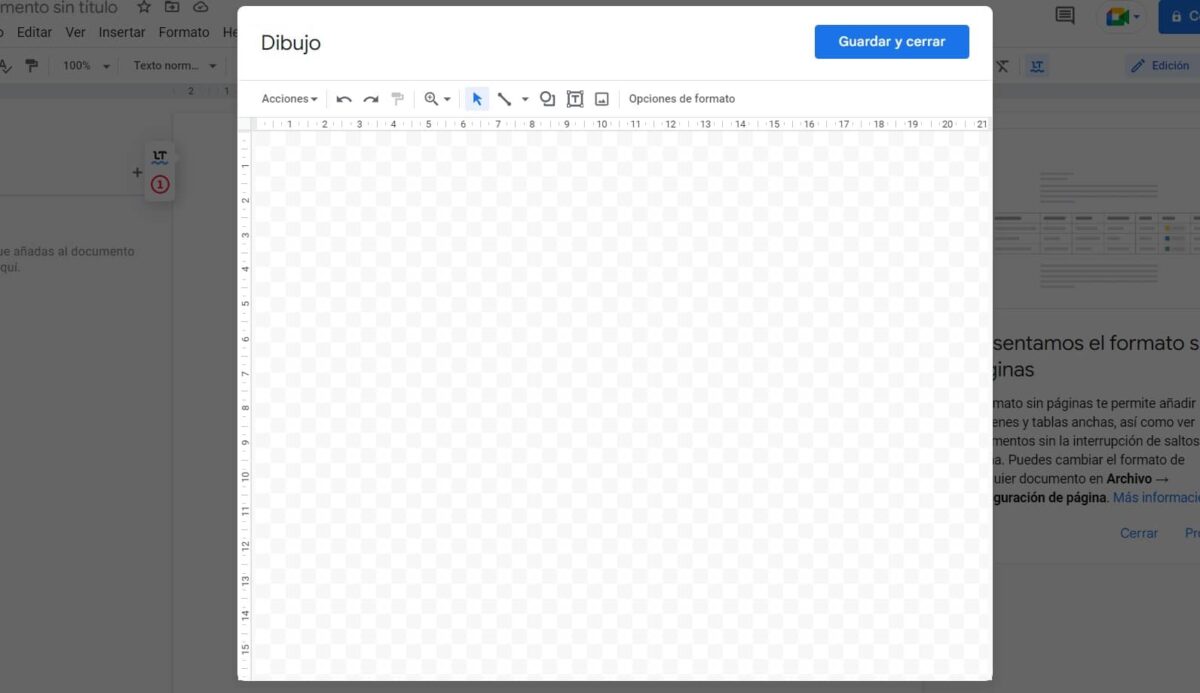
- To insert the signature in the Google Docs document, we will click on the option “Insert" and subsequently "Drawing".

- We have two possible options, make the signature at the time we are going to sign the document or import a signature previously saved in Google Drive. The second option is ideal when you need to constantly sign documents.
- For this tutorial we will do the signature for the first time, so we will choose the option “New".
- A pop-up window will appear after clicking on new, where we can make the signature freehand with the help of the mouse or a digitizing table in case we have it.

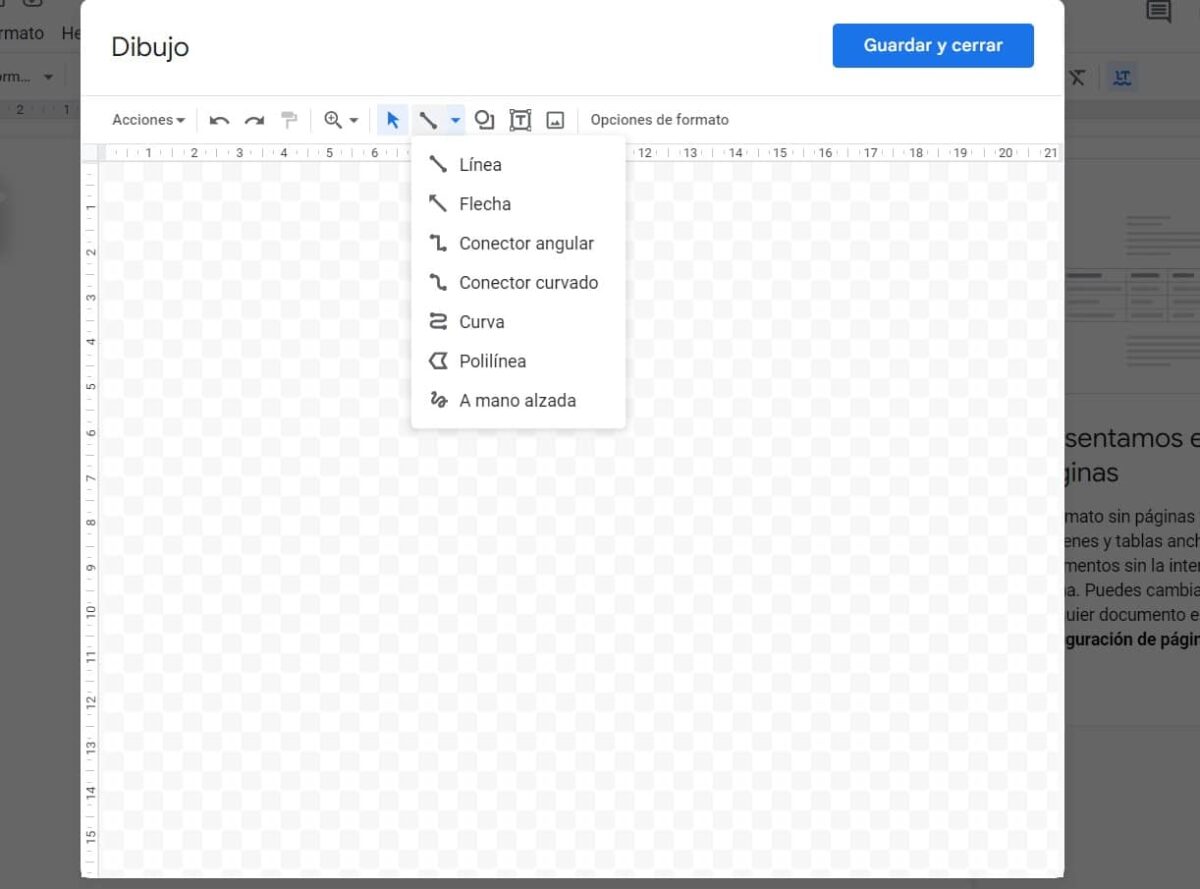
- The first step in this window to make the signature is to click on the menu “Line”, where a series of options will be displayed. The one of our interest at this time will be “Freehand”, the last of the list.

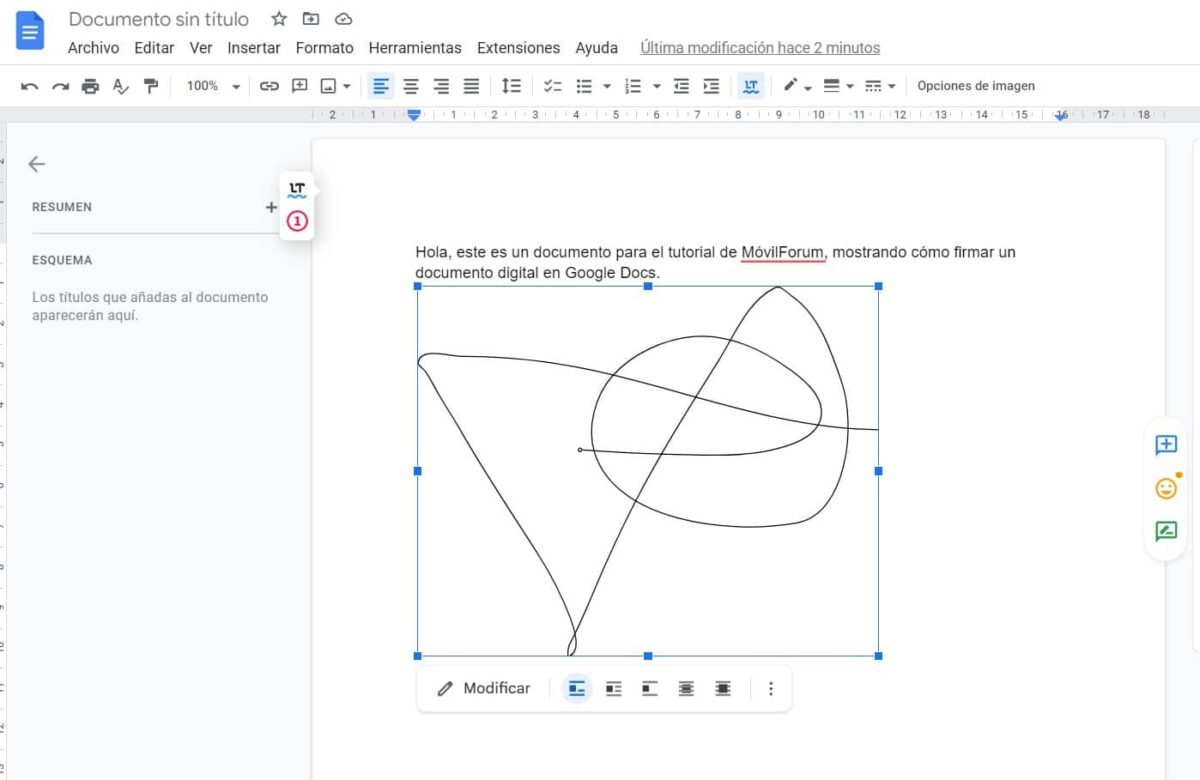
- Once the selection is made, we can start drawing our signature, as a recommendation, try to do it slowly and calmly, remember that you are drawing a line with the mouse, so it may require some practice.
- The signature that we make will be reflected without a background, which will allow you to better manage it and make it easier to place it where it is required.
- Once the signature is ready, you can edit some elements of the stroke, such as the beginning and the end, as well as the thickness of the line that you just digitally captured. To do this, use the options menu items.

- When you finish editing your signature, you must click on the blue button that you will find in the upper right area, “Save and close".
- Automatically, the signature will appear in the document, which we must place in the required size and position within the document.

- To change the size and position of the signature it is necessary that we make a left click on it, which will show us the resizing options. To change the position of the signature, we rely on the keyboard arrows, placing it where necessary.

- In the event that after loading the document, you are not satisfied with your signature, you can easily modify it. To do this, look for the option “Modify”, which will take you back to the edit menu, there you can create the signature again.
- Remember that you can make the signature move with respect to the text or be independent, even allowing it to overlap or remain below the redacted text. The editing options will allow you to do it easily.

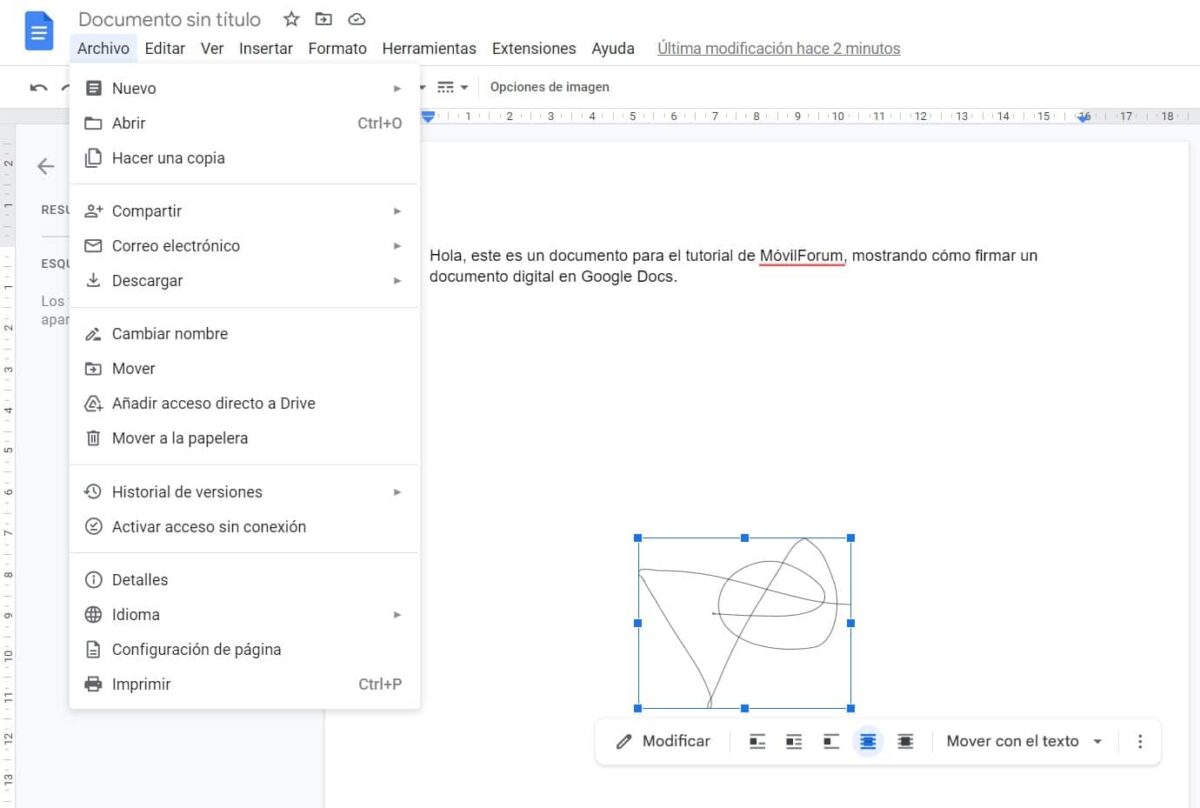
- Ready the document, we have the option to download it, print it or share it, all the options will be active in the menu "Archive”. It may be advisable to keep a copy in the cloud and another on the computer, it is important to maintain an order of the signed files.


As you can see, it is very easy to sign a document with the tools of Google Docs. This will allow you not to keep precise control of your documents, and best of all, having a digital legal certification that can be shared electronically.
If you know any other method to sign digital documents in Google Docs, you can leave it in the comments, remember that it is relevant to the community.