
How to sign in Word: 3 effective methods
Among the latests Moravia's compositions good computer security practices, have always required, on the one hand, elements and measures of privacy and anonymity. While, on the other hand, they encourage the use of authentication, verification and identification mechanisms. Above all, when it comes to the management of personal, work and official documents. For this reason, in almost all the applications of the most common Office Suites specific options are included or there are tricks, to be able to use digital signatures. And today, we'll tackle how «sign in Word».
Please note that the use of digitized handwritten signatures and digital signatures (also known as digital identification), is a mechanism that can and should, as far as possible, be used both in Microsoft Office more common (Word, Excel and PowerPoint), like most of the Office Suites existing, for example, LibreOffice. In order to guarantee a highest level of validity in them.

And, before starting today's topic, about MS Word Word Processor and its various functions, more specifically on how «sign in Word». We recommend some of our previous related posts with said application Microsoft Office:

Sign in Word: Personalize and authenticate documents
Why digitally sign a document?
The use of digitized handwritten signatures usually provides a document with a great personal touch of originality. Therefore, digitizing our handwritten signature and saving it as an image to insert it in the necessary or required documents can make a good difference in your acceptance by third parties.
While the use of a digital signature increases the level of security and veracity of the documentssince this is a encrypted electronic authentication seal in a digital format. Very useful, especially, to insert in email messages or electronic documents. Because the digital signature must serve to guarantee that the information comes from the signer and has not been modified.
Therefore, to a lesser or greater degree, both ways of signing documents offer guarantees of:
- Authenticity
- Integrity
- I don't reject
- Certification
3 effective methods to sign in Word
Currently, on the MS Word office application the following can be used 3 effective methods to achieve an acceptable signature effect. And these are the following:
Method 1
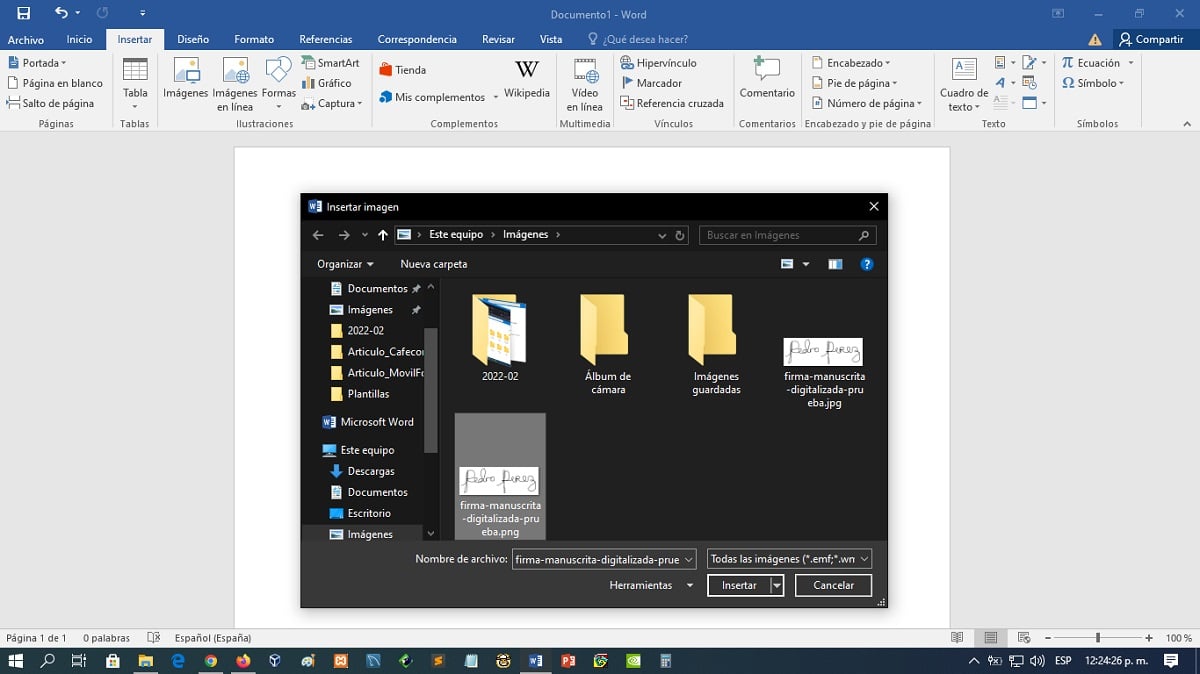
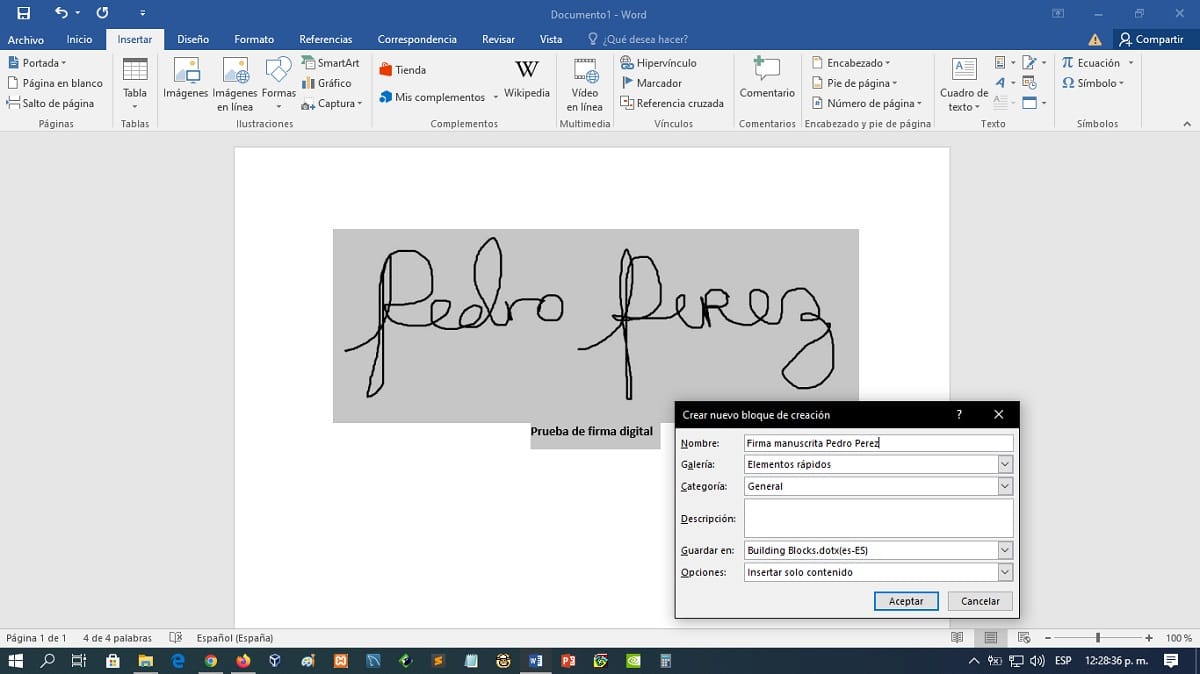
- Manually draw the signature on a sheet of paper and scan it into an image file (jpg, png or others). Or failing that, draw it digitally using any drawing application, such as MS Paint.
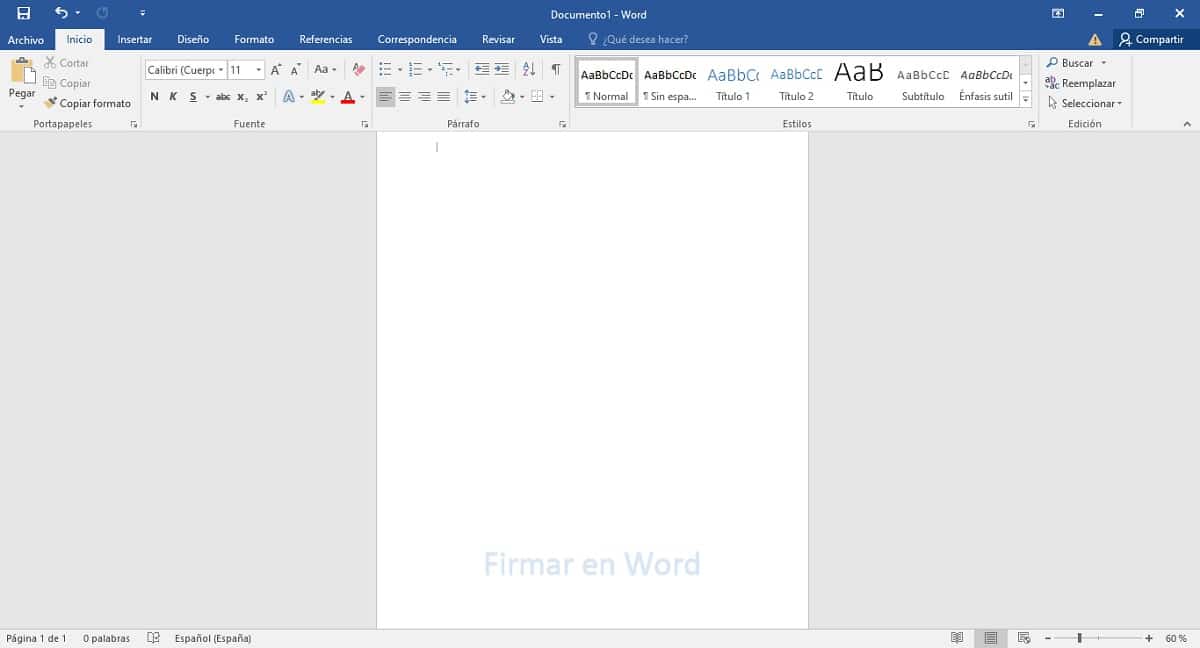
- Open MS Word application, click “Insert” > “Image” button to select the created image file to contain the signature.
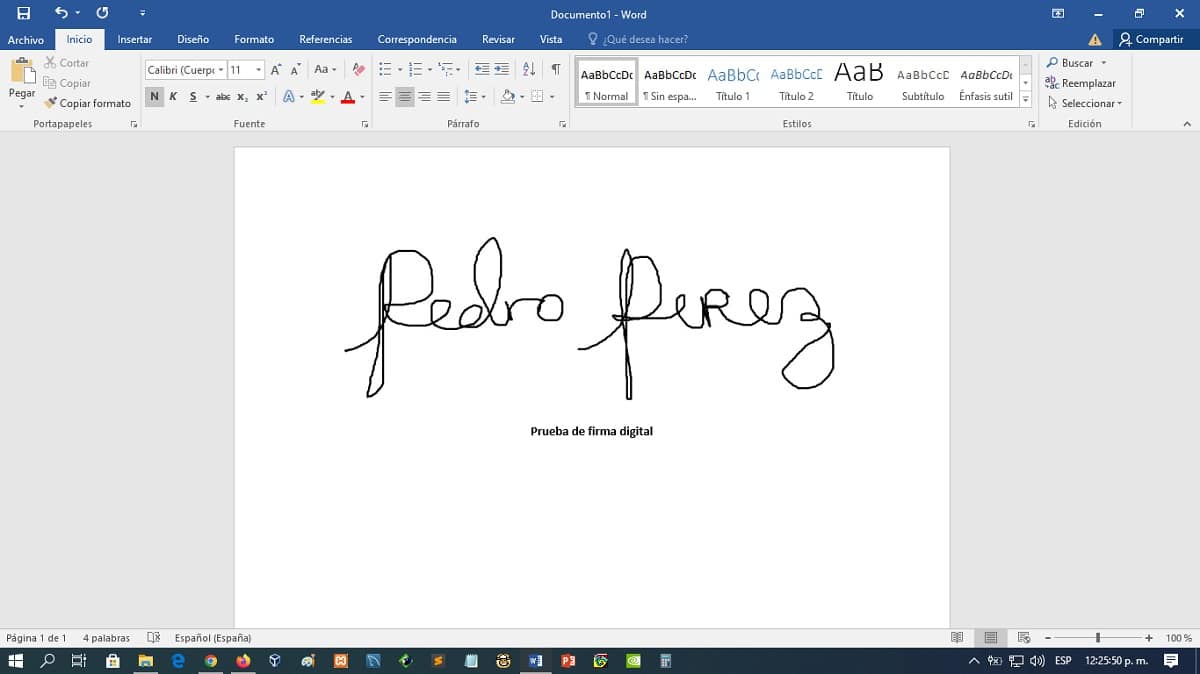
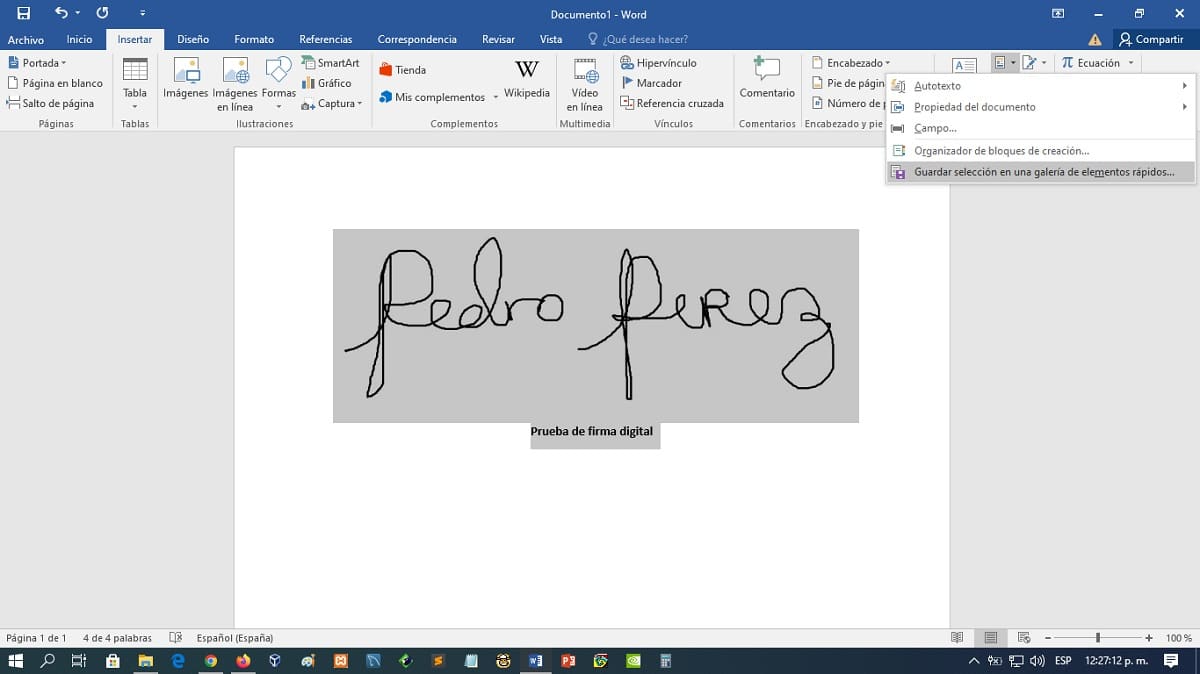
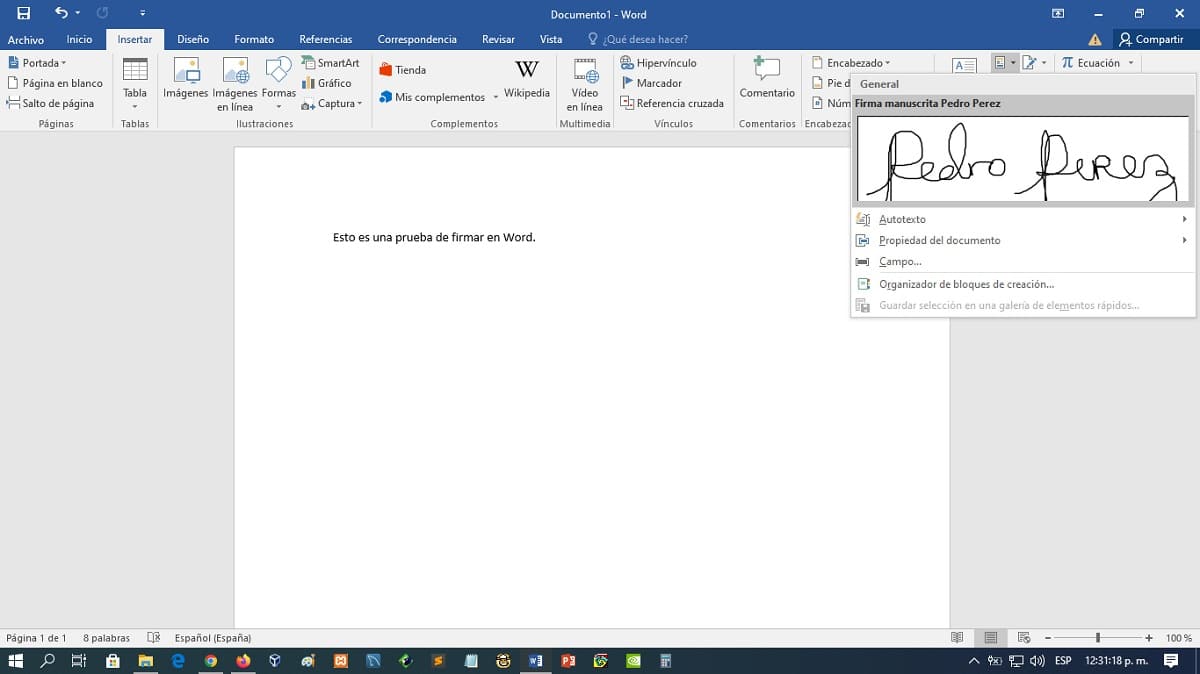
- Write the text that we will add to the signature, and then select both. We will then need to select the Quick Parts gallery to save and use that generated set at some point in the future.
As shown below:

Method 2
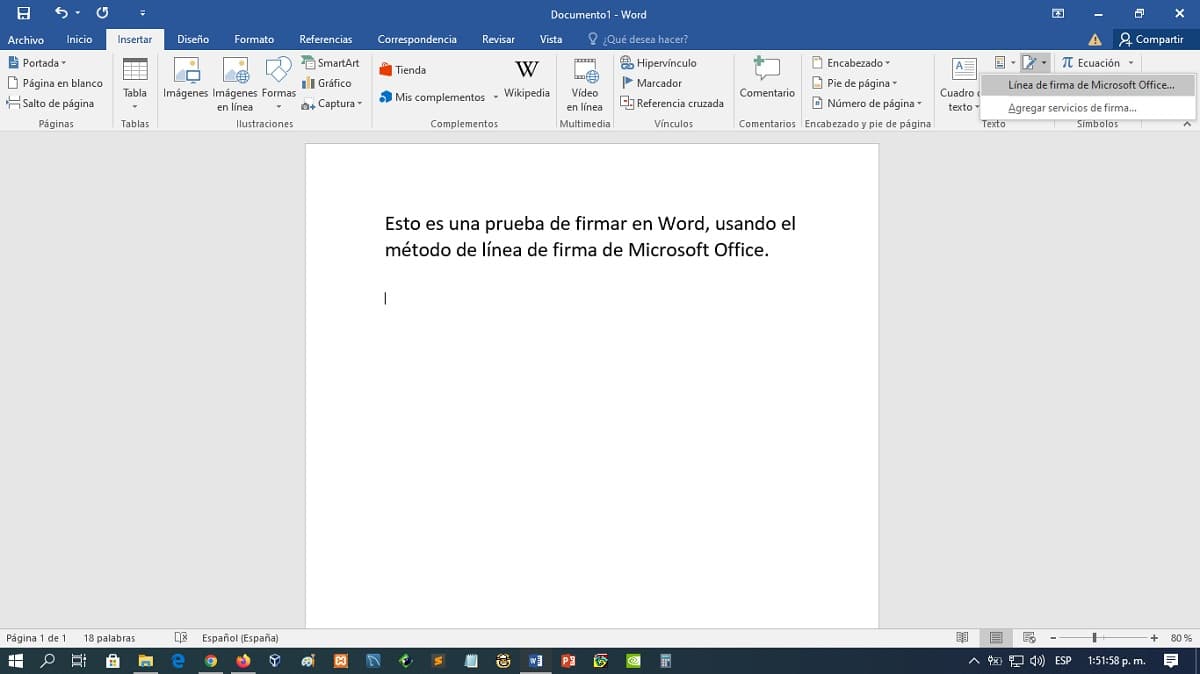
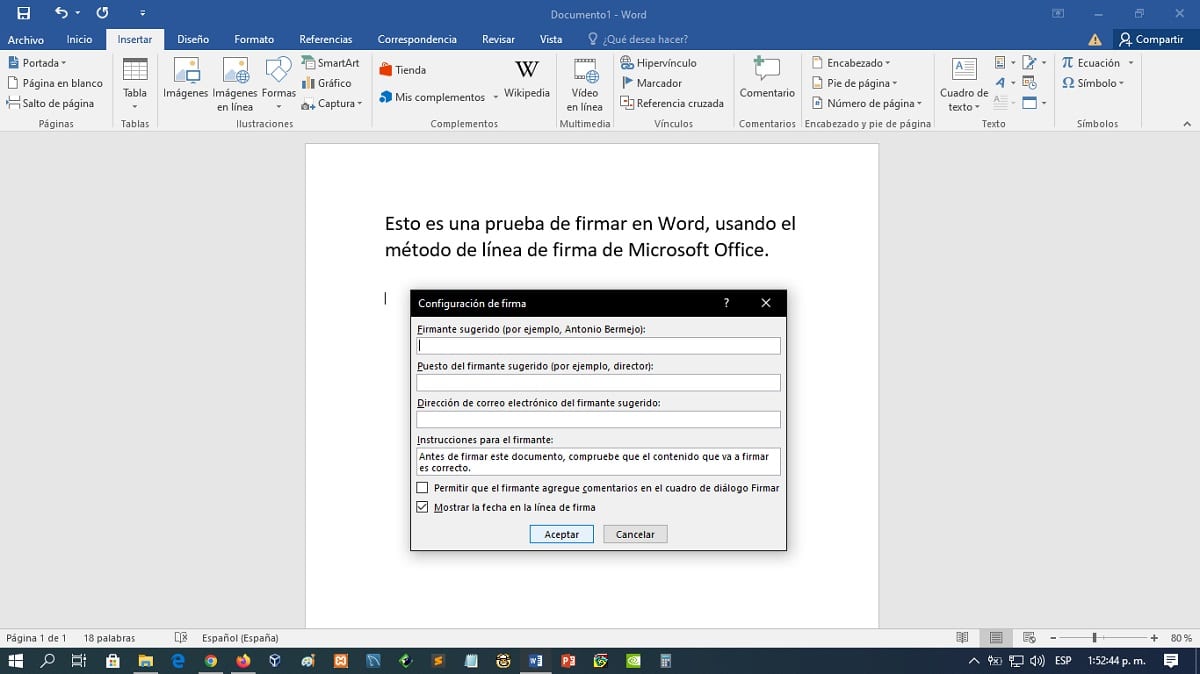
The second method, more than to sign, is to build a document with the appropriate spaces for that purpose. This method, above all, is useful if the document must be sent to be signed by 1 or more people in person. And this method included in Microsoft Word is called, Microsoft Office signature line.
That is, this method offers the option of insert one or more signature lines, to ensure that the document remains well structured and that the signature has the necessary space.
To execute this method, do the following:
- Open a document in the process of elaboration or already finished, to proceed with its modification.
- Position the mouse cursor (mouse) in the place where we want the signature line to be inserted to appear.
- Go and click the option (icon) of “Insert -> Microsoft Office Signature Line”.
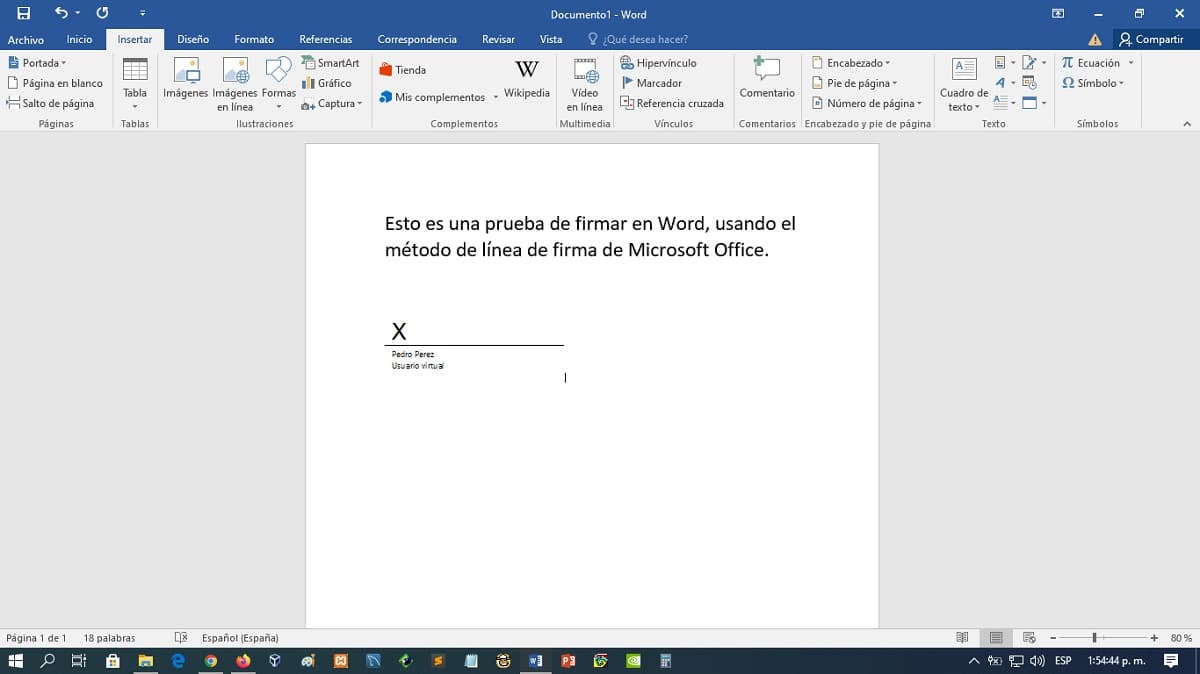
- Fill in the requested fields in the “Signature configuration” window and finish by pressing the “Accept” button.
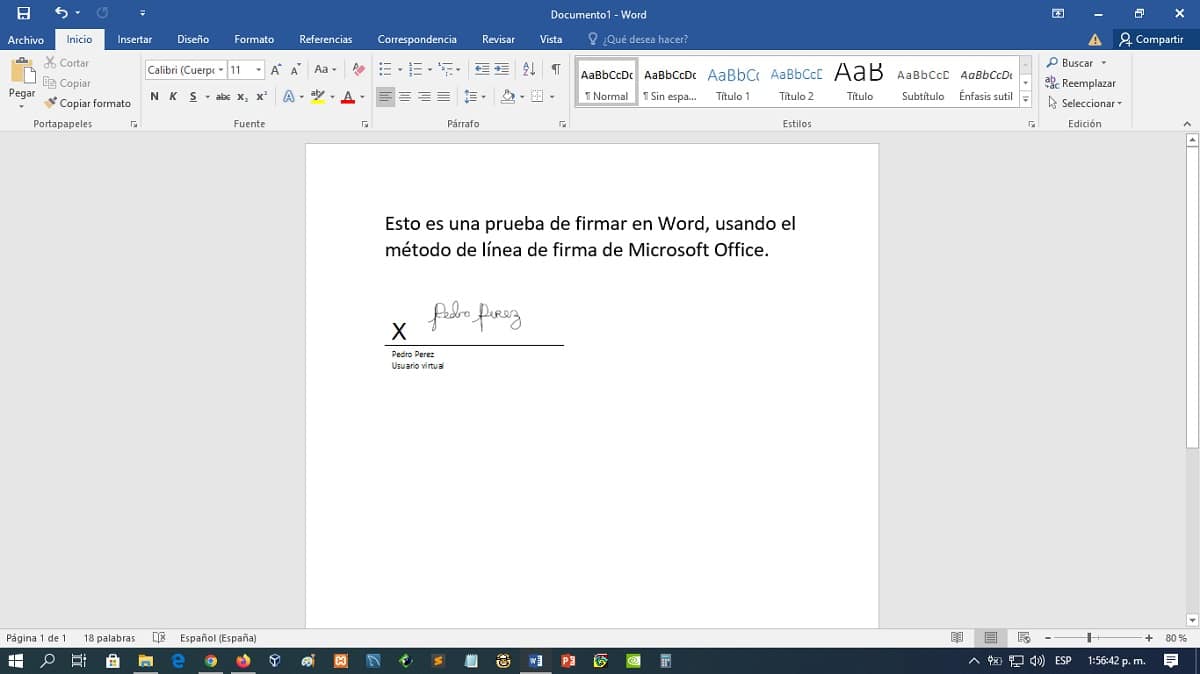
- Once all this is done, a signature line can be displayed at the point of the indicated document. For the subsequent printing and signing of the document. Although, you can also insert the digitized handwritten signature at the position of the signature line, as we have explained in the first method. Or more simply, as we will explain in the third method.
As shown below:
In case you want to go deeper into Using the Microsoft Office Signature Line feature, we recommend exploring our related previous post.
Method 3
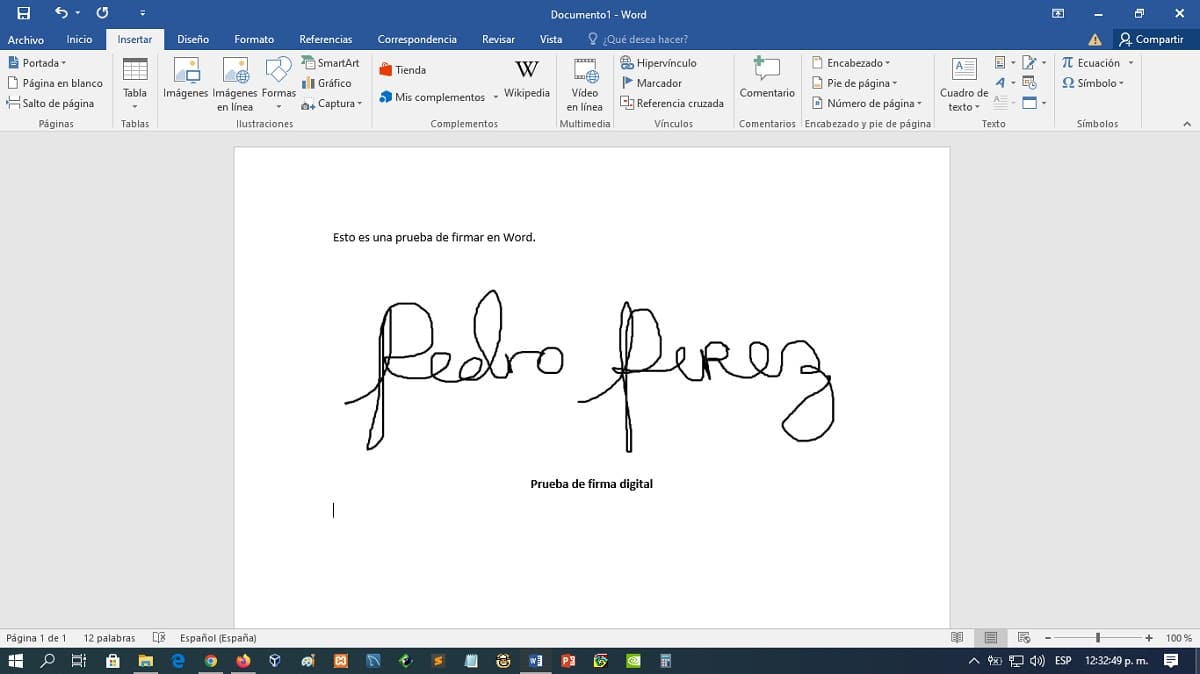
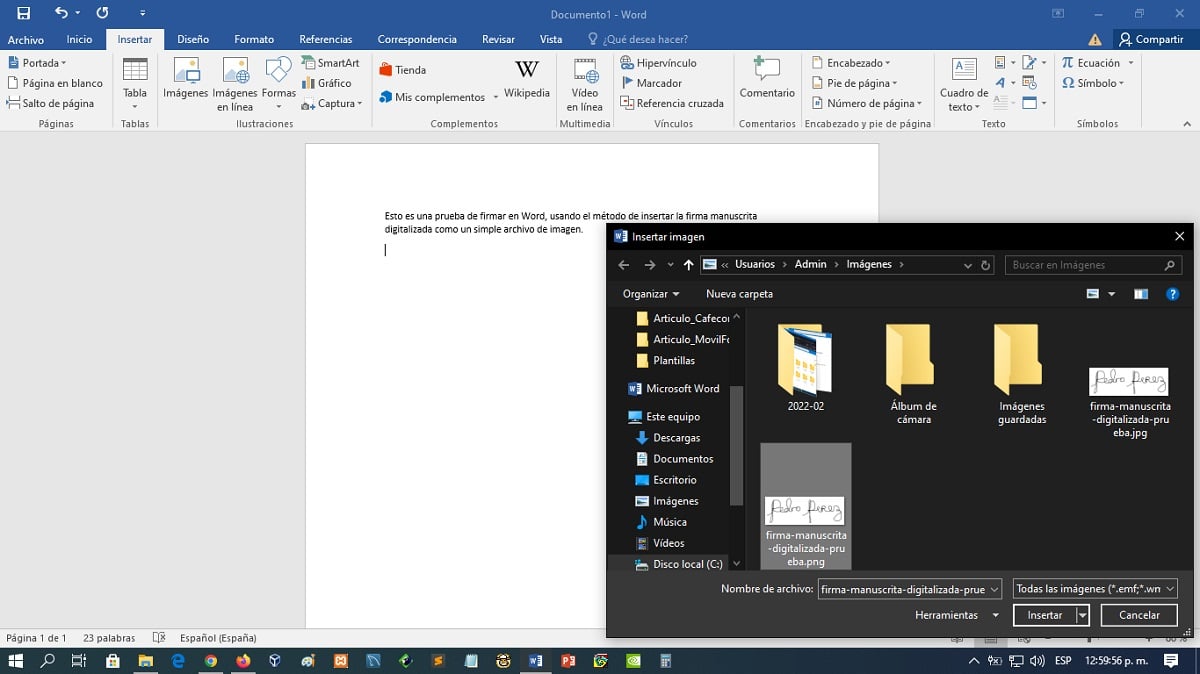
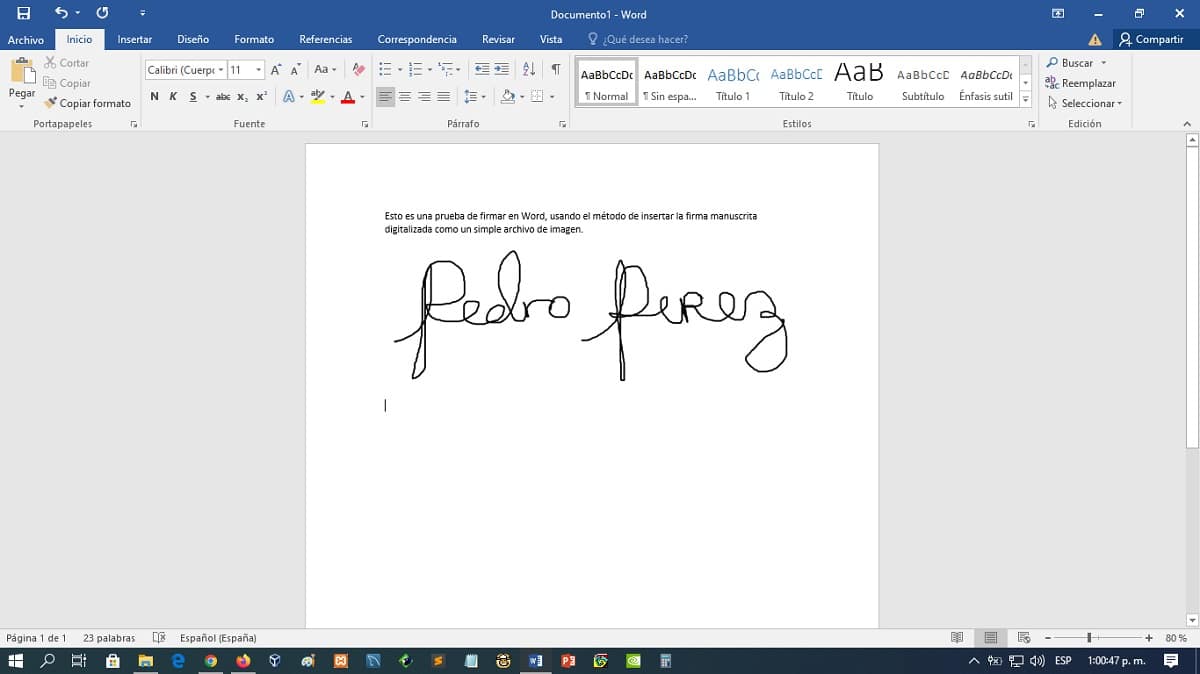
Lastly, the easiest, most direct and logical of all methods, it is simply to use an image file with the digitized handwritten signature, as in the first method, and insert it as a simple image, in the required position in the document.
As shown below:
Finally, if you want to explore official information about “signing in Word”, we recommend you click on the following link.

Summary
In summary, as can be seen, «sign in Word» in digital mode is very easy and can be very useful, to simply personalize or embellish it, cover a legal requirement. Since, as we stated at the beginning, signing a document can guarantee the authentication, verification and identification of the same, by confirming that the signatory person has understood the content and gives their approval, among other things.
So, now knowing these 3 effective methods, you will be able to efficiently fulfill this objective.