
Recording our Mac screen can be very useful and an almost essential tool when making presentations or some kind of explanation, both professionally and privately. On computers with macOS this is possible completely natively, without the need for installations of any kind or external tools.
This can be very useful and it is possible to do it in a simple way, in this tutorial we will explain step by step how to do it.
Can I record the screen with any equipment?
You can do it with any computer that has macOS installed regardless of the model or hardware it carries, which includes the entire range of Apple: iMac, iMac Pro, Mac mini, Mac Pro, MacBook, MacBook Air, or MacBook Pro. Nor will a minimum be necessary in aspects such as the processor or the Ram, the only thing that we must take into account is that the size of the video does not exceed the space of our storage.
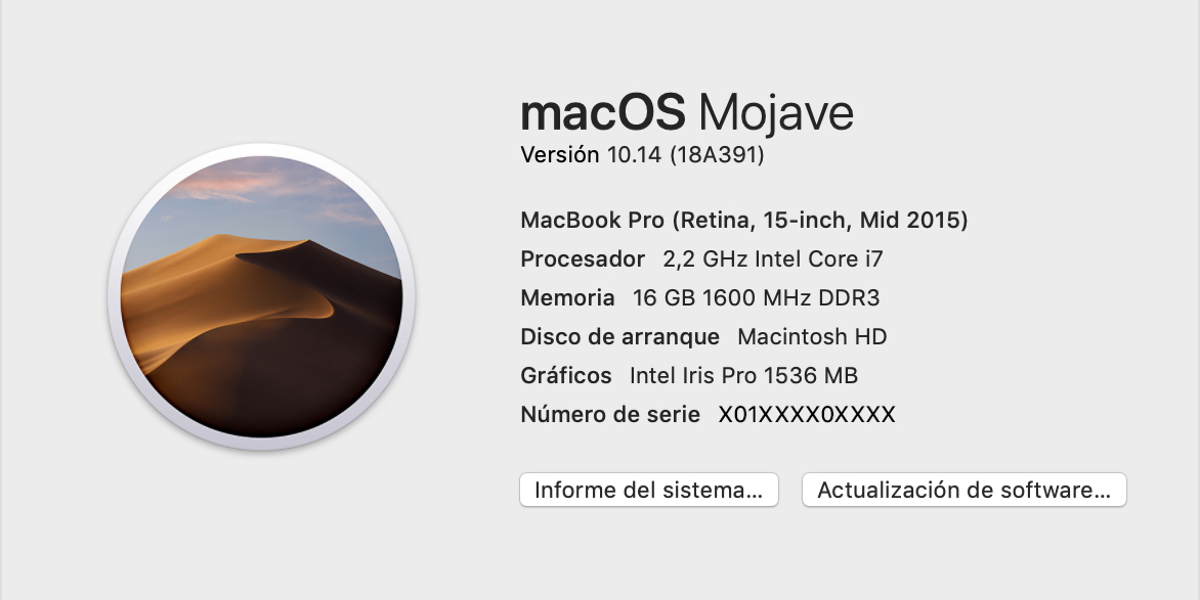
The only minimum requirement when performing this function will be the version of macOS, since we must have at least macOS Mojave installed. If we have this or a later version, we will have access completely natively. Otherwise we will have to resort to QuickTime, it is not dramatic since its use is simple as we will explain later.
MacOS native recording
In macOS we have always been able to capture through commands and in this case it is no different, We can start the screen recording in the same way, through simple commands with the keyboard. Of course, this method will only be possible if we have macOS Mojave 10.1.4 or later installed. We will have to perform the following actions:
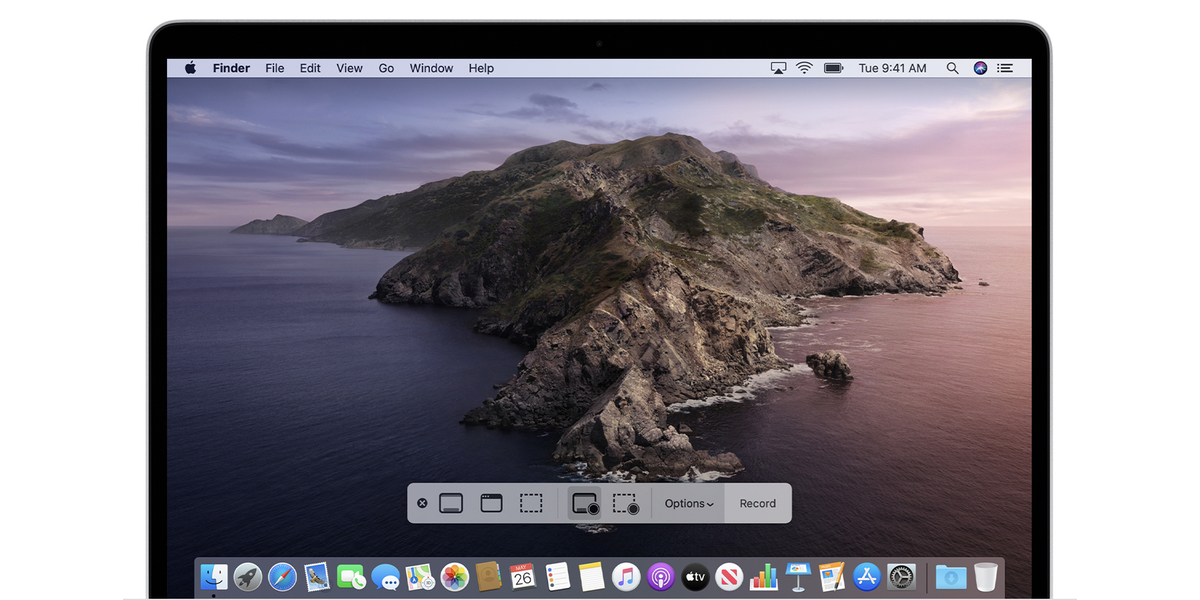
- We will press the keys CMD + SHIFT + 5 at the same time.
- This will lead to several options and they are: Record full screen or record only a specific sector. We will choose the one that suits us best.
- We will click on options to choose where we are going to store the recording made and if we want to add an external microphone, a timer or see a floating window.
- Click on Record and it will begin.
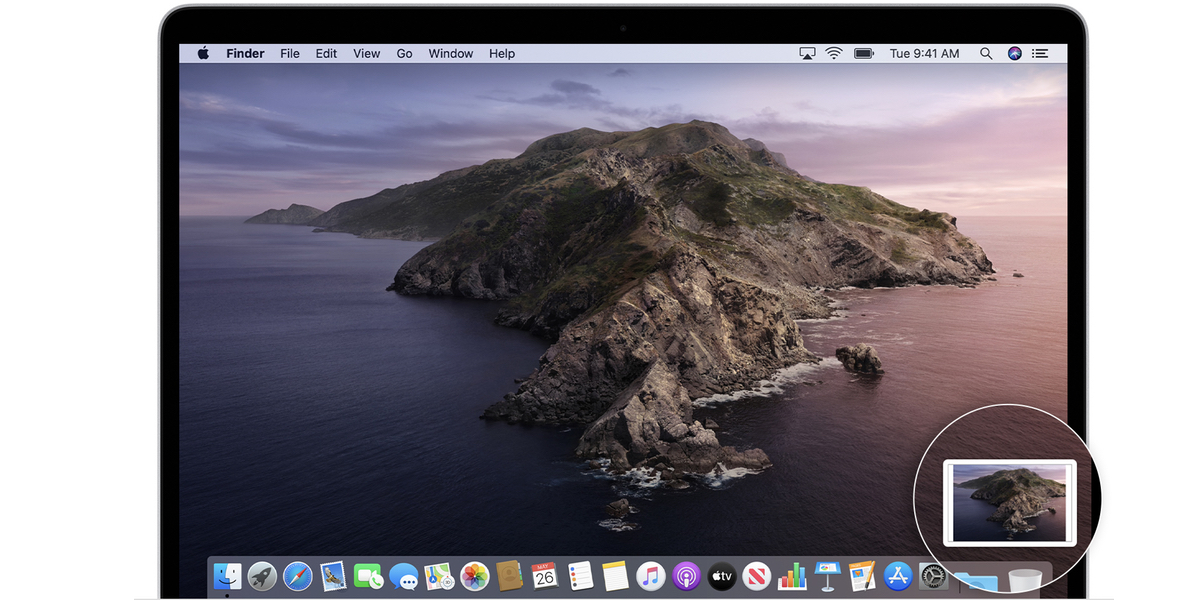
When we want to finish the recording we will simply have to press the corresponding button that appears in the upper toolbar. The video will be located in the section that you have previously selected and you can either share it comfortably or transfer it to an external storage if necessary.
Record the screen with QuickTime
For all macOS computers that are in a macOS High Sierra version or earlier, we have another method that, although it is native to macOS, does not go through commands like the one above. In this case, it is not a function attached to the system, but we need to use a dedicated application for it. It is a program that is already pre-installed by Apple itself, without the need for additional downloads. We can make a recording with this program by following these simple steps:
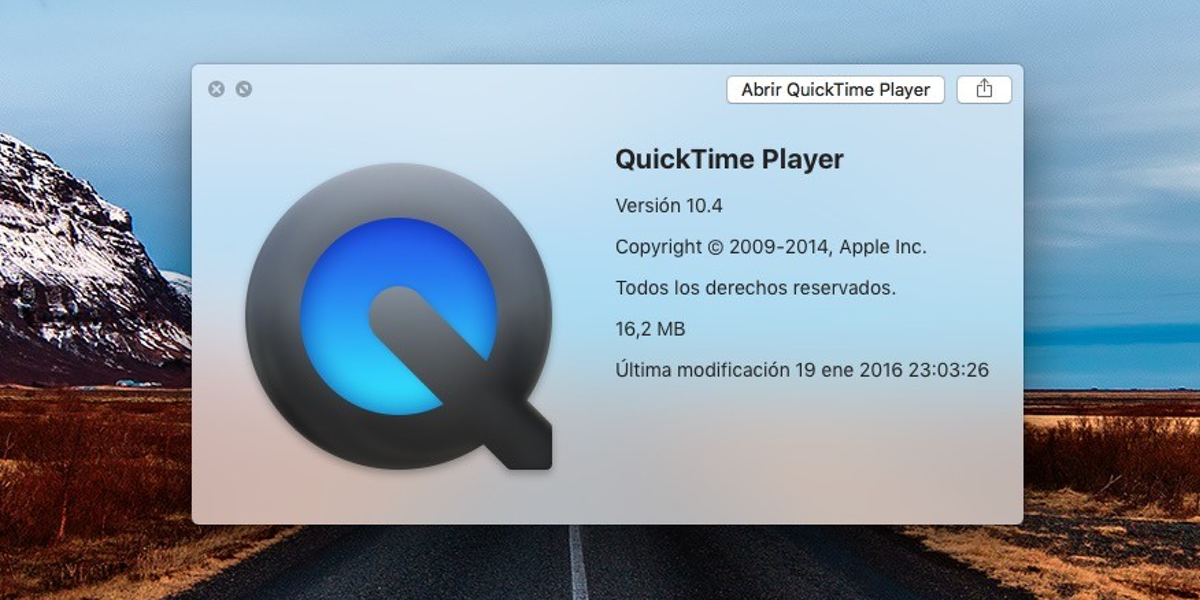
- We open QuickTime
- We go to the top toolbar and go to «File»> «New screen recording«
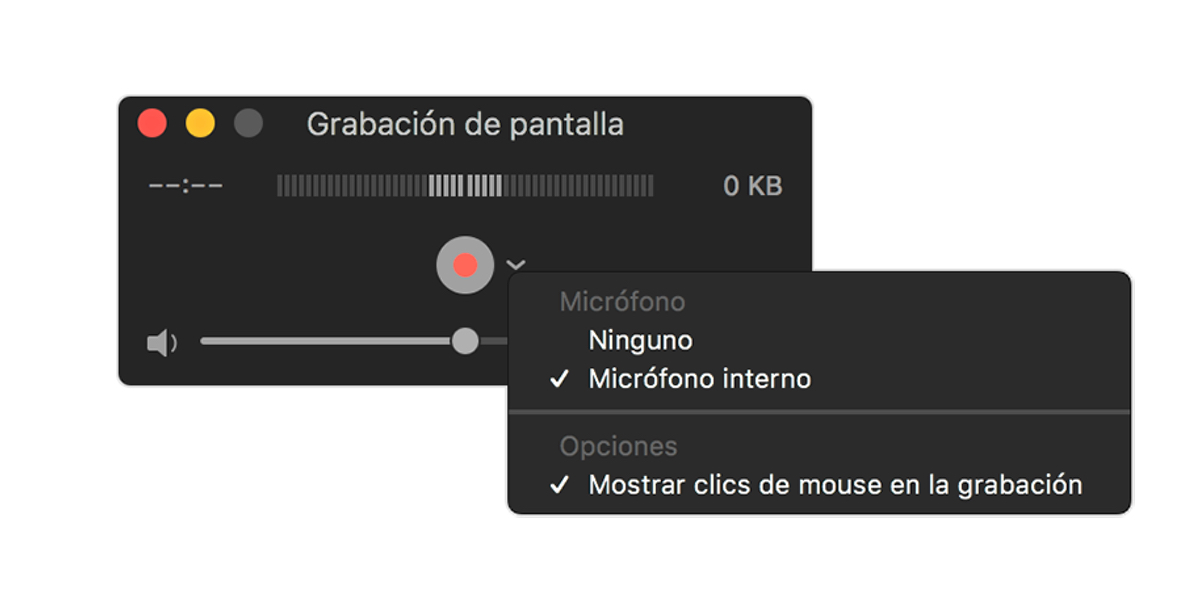
- We will click on the arrow next to the record button and we will be able to modify some recording settings.
- Now we click on the record button to start and we will press anywhere on the screen to compensate for the recording of the entire screen, if we want to record a specific sector of it, select that area by clicking on start recording.
- To end the recording, just press the button on the top bar tool or command CMD + Cntrl + ESC. At the time of completion, the container file will appear on the screen so that we can make any type of editing of it, and then save it where it suits us best.
Other alternatives to record Mac screen
Once the native methods that we have in macOS have been detailed, we proceed to detail some other methods or applications to make a screen recording, offering some of them more or less options.
Online screen recorder
It is a free and easy-to-use online screen recorder, with which we can create high-quality videos. Thanks to this tool we will have easy access to the experience of the best recording programs.
This method does not leave any watermark in our recording on your video after registration, in addition this program can capture the activity of your desktop along with the system audio. In general it is a very easy to use and above all efficient program. We will have access to it in the following Link.
OBS Studio
In this case it is a program but also totally free. This program is open source and works on all operating systems. Allows you to capture all activities in real time and create broadcasts of your videos. This program also includes an editor that allows us to include audio tracks to our recordings. The only downside that we can find with this application is that it can be somewhat confusing for the less skilled and you should take more time to get hold of it. We can download it for free in this Enlace.
Jing
Created by Techsmith Jing, it is a completely free, open source program created exclusively for macOS. This program has gained many followers in the market from now on, mainly due to its simplicity. It has a floating icon that we can move around our screen, to use its screen recording function at any time required.
The program also allows us to take screenshots in image and then edit them, the only downside is that the maximum per recording is 5 minutes. We can download it Here
Monosnap
Finally we go with a program that, like Jing, is developed and designed exclusively for macOS. Not only will it allow us to record our screen, but we will also be able to take quick screen captures at the level of the best dedicated programs.
Monosnap has the peculiarity of allowing us to capture our webcam and microphone of our equipment or the sound of the system, in addition we allows 60FPS recording, something rare to see in this type of program. Something very useful especially for the Gamer world.
We can download the program from this Enlace on its official website.
Hello Paco,
The article is very complete. My favorites are QuickTime / Nativo (* I think * that in Mac OS Catalina they are the same) and OBS Studio which is free and very complete, although personally I have not used it much.
I use the QuickTime / Native method to record, for example, video conferences with audio and video at the same time, in addition to your own microphone.
However, to record the audio of the microphone mixed with the audio of the other participants, you need another software called BlackHole, which replaces the old Soundflower that is no longer compatible with the latest versions of MacOS
Here I leave the link: https://existential.audio/blackhole/
Regards!
Great contribution Blas, it is appreciated.