
How to Remove Concealer from iPhone Keyboard
When talking about writing assistive technologies, the use of automatic and intelligent correctors it is in order, both for computer applications, such as browsers and websites; and of course, for the mobile devices. The autocorrect function, predictive text, or spell checker, both on Android mobiles or similar, and on the iPhone and iPad, are usually reasons for many joys and frights, just after sending a message. For this reason, many tend to disable it. And for this reason, today we will address “how to remove corrector from iphone keyboard”.
Personally, I like to keep the predictive text and spell checker of my mobile, however, many times it has been annoying and even problematic, like many. This, because it slows down the conversation if you don't have a good command of the tool, which, in turn, guarantees a precise, adequate and well-written text. Also, this usually depends on both how fast we usually type, and the language we usually use. Since, the more out of the ordinary this is, the typing error level, and it is always best to use it disabled. As we will see below.
And, before starting this new tutorial on “how to remove corrector from iphone keyboard”, we recommend that you then explore other useful related contents, with iPhone and keyboards, such as:
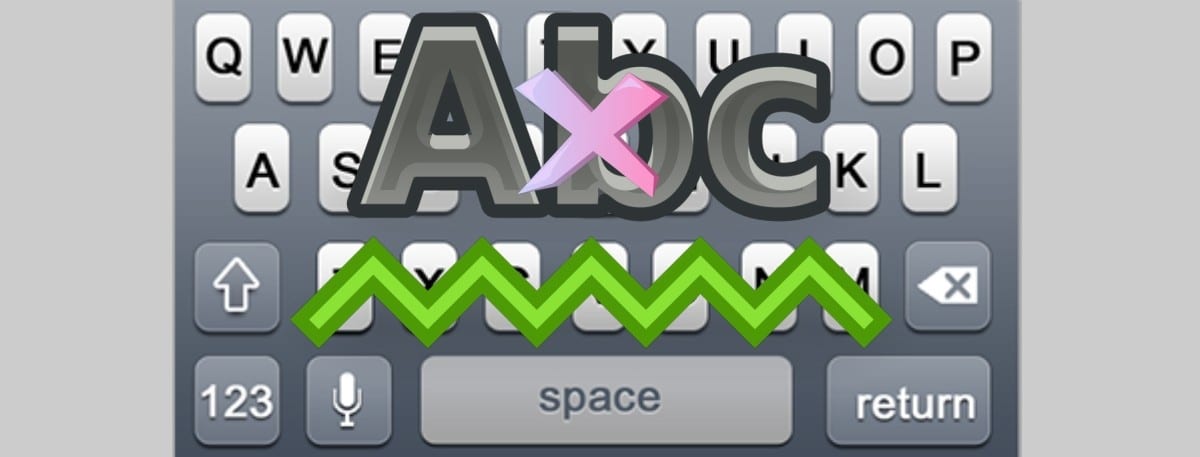
Tutorial on How to Remove iPhone Keyboard Concealer
Steps to know how to remove iPhone keyboard corrector
Actually, this is a simple process on iPhone mobiles. And to enable/disable automatic corrector, The steps are the following:
- We unlock the iPhone.
- We open the Settings menu.
- We press on the General section.
- Then we do the same thing on the Keyboard section.
- And, we finish by activating or deactivating the automatic corrector, pressing the autocorrect option.
As seen in the image below:
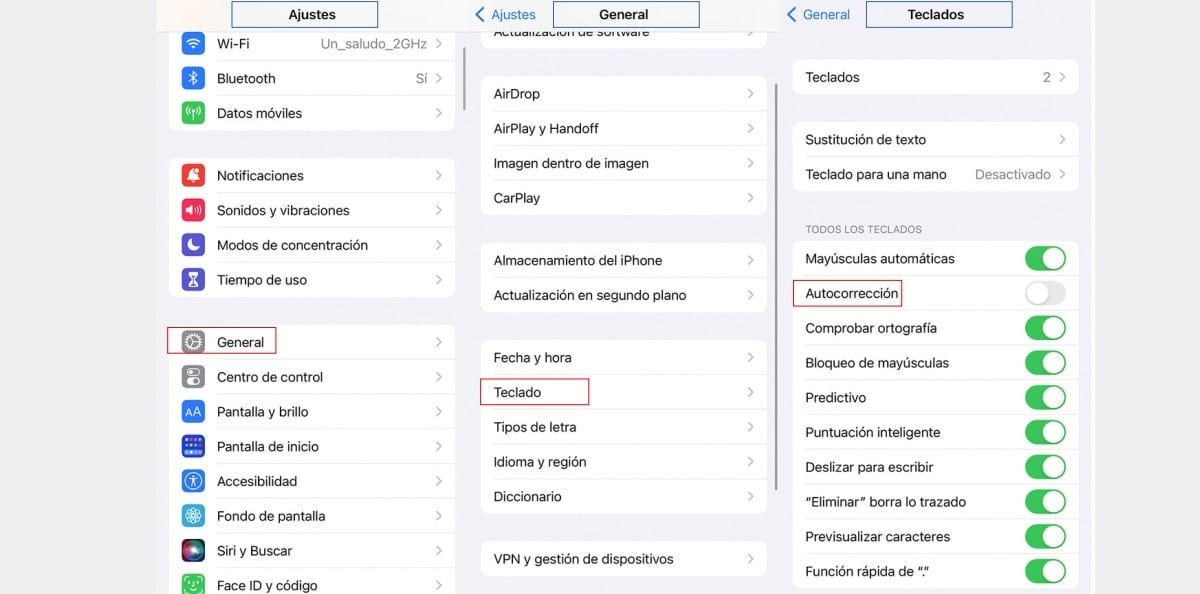
And as we can see, the Keyboard section has many more options available for writing assistance. Personally, I recommend leaving the Check Spelling option. Since, leaving it activated, the mobile will alert us about text "probably" misspelled, without making any changes to it. The warning signal is simply a red line under the word that has been detected as suspicious.
Other available and useful options are, the Predictive option, which is used to activate some suggested words on the top bar of the keyboard based on what is written. And the enable Dictation option, which is used to talk to the phone so that it transcribes what we are saying.
Reset keyboard dictionary
Note that, if when writing the problem is that, the mobile corrects our words, not based on the official dictionary, but depending on what we write, then a good measure to take is the following: Reset keyboard dictionary.
To do this, we must do the following:
- We unlock the iPhone.
- We open the Settings menu.
- We press on the General section.
- Then we do the same thing on the Reset section.
- And we finish, pressing on the Reset keyboard dictionary option.
And so, this configuration will allow us to write only what we type.


More information related to the topic
For those who wish to dig a little deeper into the autocorrect feature on iPhone devices, and from them in general, you can always access both the following official link from Apple, such as entering directly into the Apple iPhone help system for more information and support.
Lastly, if you are content about “how to remove corrector from iphone keyboard” It has been interesting, practical or has worked well or badly for you, let us know through the comments. Also, remember share this tutorial with your friends and family or contacts from your social networks. So that they also read it and put it into practice, at some point, in case they need it for themselves or others. And don't forget to explore more tutorials on our website, to continue learning more about various technologies.